Easy Homemade Bread Recipe – Best Soft Loaf
Homemade bread, with its irresistible aroma and soul-satisfying texture, is more than just food; it’s an experience. There’s a primal joy in transforming simple ingredients – flour, water, yeast, and salt – into a golden-crusted masterpiece. I remember the first time I pulled a truly perfect loaf of homemade bread from my oven, the steam escaping in fragrant wisps, and the crust crackling like a tiny symphony. That moment cemented my love for this age-old craft.
Why do we adore it so much?
Perhaps it’s the comforting warmth that fills our homes during baking. Or maybe it’s the sheer satisfaction of knowing exactly what goes into every slice, free from preservatives and artificial ingredients. What truly makes homemade bread special is the connection it fosters – to our kitchens, to our families gathered around the table, and to a tradition that spans generations. It’s a tangible expression of love and care, a little piece of edible art that tastes infinitely better because we made it ourselves.
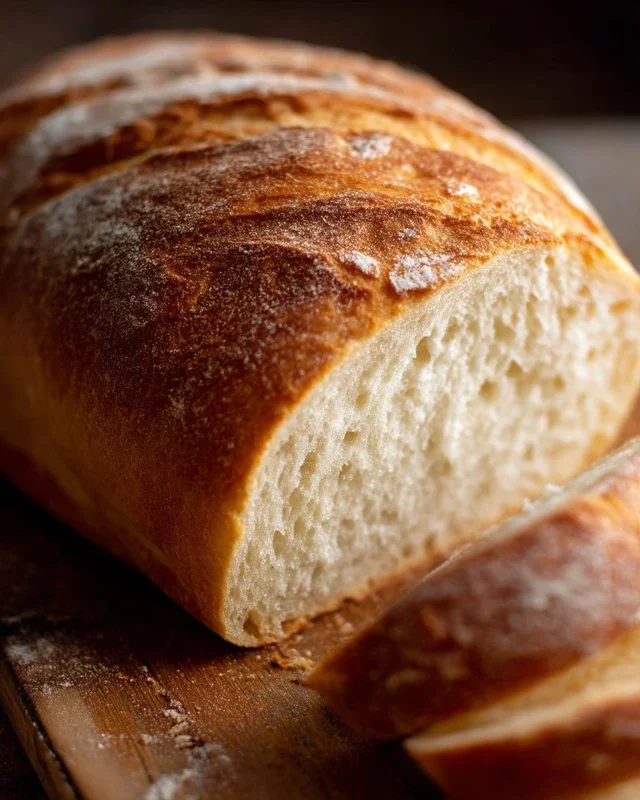
Homemade Bread
There’s a special kind of magic that happens when you bake your own bread. The aroma that fills your kitchen as it bakes is simply non-intoxicating, and the satisfaction of pulling a warm, golden loaf from the oven is unparalleled. Forget those store-bought loaves that often feel a bit… lifeless. With a few simple ingredients and a little patience, you can create a delicious, crusty, and wonderfully tender homemade bread that will have everyone asking for seconds. This recipe is designed to be accessible, even if you’re new to bread making. Don’t be intimidated; the process is more intuitive than you might think, and the results are so worth it.
Ingredients:
Getting Started: Activating the Yeast
The first step to any great bread is ensuring your yeast is alive and kicking. In a large mixing bowl, pour the warm water. The temperature is crucial here; too hot and you’ll kill the yeast, too cold and it won’t activate properly. Aim for that sweet spot between 105-115 degrees Fahrenheit. You can test this with your finger – it should feel comfortably warm, not hot. Sprinkle the active dry yeast over the surface of the water. If you’re using honey, stir it in now. If you’re opting for sugar, add it as well. Let this mixture sit undisturbed for about 5-10 minutes. You should start to see a foamy, bubbly layer forming on the surface. This is the yeast waking up and feeding on the sugars, releasing carbon dioxide, which is what will make our bread rise beautifully. If you don’t see this foamy layer, your yeast might be old or the water wasn’t the right temperature, and it’s best to start over with fresh ingredients.
Mixing the Dough
Once your yeast is happily bubbling, it’s time to add the rest of the ingredients to your bowl. Stir in the salt and the oil. The oil will contribute to the tenderness and softness of the final crum extractb. Now, it’s time for the flour. Start by adding 4 cups of flour to the wet ingredients. Mix everything together with a wooden spoon or a sturdy spatula until a shaggy dough begin extracts to form. It will be sticky at this stage, and that’s perfectly normal.
Kneading the Dough
This is where the real work (and the fun!) begin extracts. Turn the shaggy dough out onto a lightly floured surface. Begin extract to knead the dough. If you’re using a stand mixer with a dough hook, you can knead it on a medium-low speed. For manual kneading, use the heel of your hand to push the dough away from you, then fold it back over itself, and repeat. You’ll want to add more flour, a tablespoon at a time, as you knead, only if the dough is excessively sticky and difficult to handle. The goal is a smooth, elastic dough that springs back when you gently poke it. This process of kneading develops the gluten in the flour, which gives bread its structure and chewy texture. Knead for about 8-10 minutes if you’re doing it by hand, or 5-7 minutes in a stand mixer. The dough should feel soft and slightly tacky, but it shouldn’t stick to your fingers in large clumps.
The First Rise: Letting the Dough Relax and Grow
Lightly grease a clean, large bowl with a little bit of oil. Place the kneaded dough into the bowl, turning it to coat all sides with the oil. Cover the bowl tightly with plastic wrap or a clean kitchen towel. Find a warm, draft-free spot for the dough to rise. This could be on top of your refrigerator, in a slightly warmed (but turned off) oven, or simply on your counter if your kitchen is warm. Allow the dough to rise for 1 to 1.5 hours, or until it has doubled in size. This slow, steady rise is crucial for developing flavor and a good texture. You’ll know it’s ready when you can gently press your finger into the dough, and the indentation remains.
Shaping and the Second Rise
Once your dough has doubled, gently punch it down to release the air. Turn the dough out onto your lightly floured surface again. Shape it into your desired loaf. For a classic round or oblong loaf, you can gently tuck the edges under to create tension on the surface. For sandwich bread, you can shape it into a rectangle and then roll it up tightly. Place the shaped loaf onto a baking sheet lined with parchment paper or into a greased loaf pan. Cover it loosely with plastic wrap or a kitchen towel and let it rise again for another 30-60 minutes, or until it’s visibly puffy and has increased in size by about 50%. This second rise, often called proofing, is important for creating a light and airy crum extractb.
Baking to Golden Perfection
Preheat your oven to 375 degrees Fahrenheit (190 degrees Celsius) during the last 15 minutes of the second rise. If you like a crispier crust, you can place a shallow pan of water on the bottom rack of your oven while it preheats. The steam created will help achieve that perfect crust. Once the oven is preheated and the dough has had its second rise, you can optionally brush the top of the loaf with a little bit of egg wash (one egg beaten with a tablespoon of water) or milk for a shinier, browner crust. Bake for 30-40 minutes, or until the loaf is golden brown and sounds hollow when tapped on the bottom. If the crust is browning too quickly, you can loosely tent it with aluminum foil.
Cooling and Enjoying
The hardest part of homemade bread making is waiting for it to cool! Once out of the oven, immediately transfer the loaf to a wire rack to cool completely. This allows air to circulate around the bread, preventing the crust from becoming soggy. Resist the urge to slice into it while it’s piping hot, as the inside will continue to cook and set as it cools. Once cooled, slice it with a serrated knife and enjoy the fruits of your labor. Spread with butter, jam, or use it for the best sandwiches you’ve ever had. Happy baking!
Conclusion:
Now that you’ve got the blueprint for creating delicious homemade bread, I hope you’re feeling inspired! This recipe truly is fantastic because it demystifies the bread-making process, proving that you don’t need a fancy bakery to achieve that perfect crusty exterior and wonderfully soft interior. The aroma that fills your home as it bakes is simply unparalleled and a reward in itself. This versatile loaf is your canvas; serve it warm with a generous slather of butter, alongside your favorite soups and stews, or as the foundation for incredible sandwiches. Don’t be afraid to experiment with variations! Try adding herbs like rosemary or thyme to the dough, a handful of olives, or even some grated cheese for an extra burst of flavor. The journey of making homemade bread is incredibly satisfying, and I wholeheartedly encourage you to give it a try. You’ll be amazed at what you can create!
Frequently Asked Questions:
Why is my bread dough not rising?
This is a common concern! Several factors can contribute to a lack of rise. Ensure your yeast is fresh and active. You can test this by dissolving it in warm water (around 105-115°F or 40-46°C) with a pinch of sugar; it should become foamy within 5-10 minutes. Check that your water isn’t too hot, as this can kill the yeast, or too cold, which slows it down. Also, ensure your proofing environment is warm enough (around 75-80°F or 24-27°C). Drafts can also hinder rising.
Can I make this homemade bread ahead of time?
Absolutely! Once cooled, your bread will keep well at room temperature for 2-3 days when stored in a bread box or a loosely tied plastic bag. For longer storage, it freezes beautifully. Wrap individual loaves or slices tightly in plastic wrap, then in foil or a freezer bag, for up to 3 months. Thaw at room temperature or gently reheat in the oven.
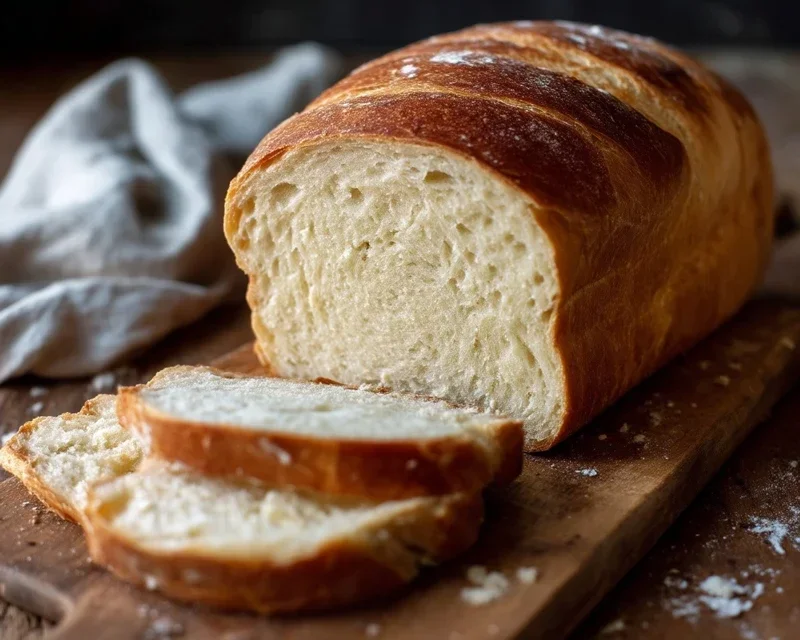
Homemade Bread
A simple recipe for delicious homemade bread, perfect for sandwiches or as a side.
Ingredients
-
2 cups warm water (105-115 degrees Fahrenheit)
-
1 Tablespoon active dry yeast
-
1/4 cup honey
-
2 teaspoons salt
-
2 Tablespoons canola oil
-
4 cups all-purpose flour
Instructions
-
Step 1
In a large bowl, combine the warm water, honey, and yeast. Let stand for 5-10 minutes until foamy. -
Step 2
Stir in the salt and canola oil. -
Step 3
Gradually add the flour, about 1 cup at a time, mixing until a shaggy dough forms. Add more flour as needed until the dough is no longer sticky. -
Step 4
Turn the dough out onto a lightly floured surface and knead for 8-10 minutes until smooth and elastic. -
Step 5
Place the dough in a lightly oiled bowl, turning to coat. Cover and let rise in a warm place for 1-1.5 hours, or until doubled in size. -
Step 6
Punch down the dough and shape it into a loaf. Place in a greased loaf pan. -
Step 7
Cover and let rise again for 30-45 minutes. -
Step 8
Preheat oven to 375 degrees Fahrenheit (190 degrees Celsius). Bake for 30-35 minutes, or until golden brown and the loaf sounds hollow when tapped on the bottom.
Important Information
Nutrition Facts (Per Serving)
It is important to consider this information as approximate and not to use it as definitive health advice.
Allergy Information
Please check ingredients for potential allergens and consult a health professional if in doubt.