Best Soft Chocolate Chip Cookies- Perfect Recipe
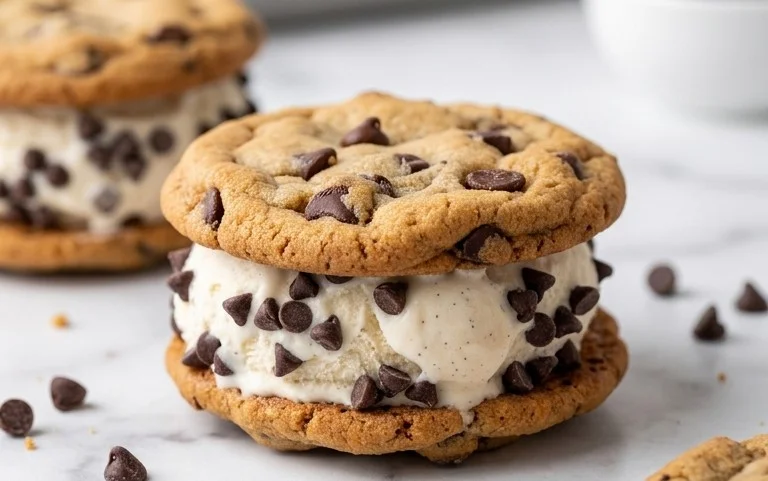
The Best Soft Chocolate Chip Cookies are more than just a dessert; they’re a nostalgic hug in edible form. We all have a memory tied to that perfect bite: warm, gooey, with melty chocolate pockets that stretch just so. But what truly elevates The Best Soft Chocolate Chip Cookies from good to utterly unforgettable? It’s a delicate dance of ingredients and technique, a secret handshake that unlocks that impossibly tender texture and rich, buttery flavor. Forget those dry, crum extractbly impostors. My mission is to guide you to cookie nirvana, where every bite delivers that satisfying chew and a flood of pure, unadulterated chocolatey bliss. Get ready to bake the cookies of your dreams, the ones that will have everyone asking for your secret!
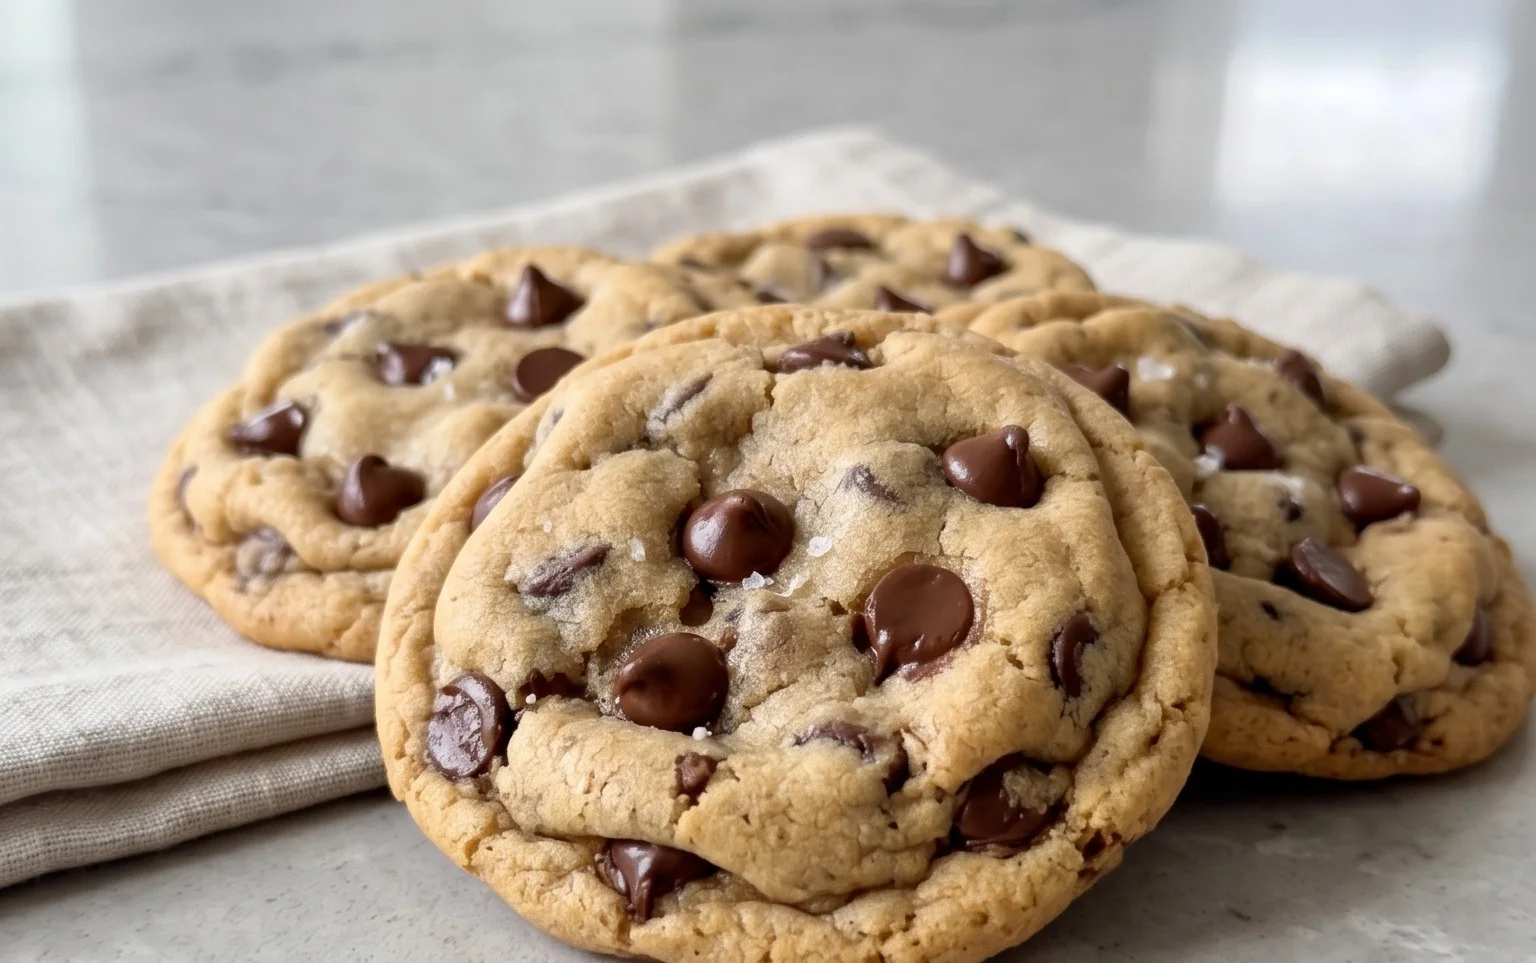
The Best Soft Chocolate Chip Cookies
There are few things in life as universally comforting and utterly delicious as a warm, soft chocolate chip cookie. I’ve spent countless hours in my kitchen, experimenting with different ratios, baking times, and secret ingredients, all in pursuit of the ultimate soft chocolate chip cookie. And today, I’m thrilled to share my perfected recipe with you. This recipe delivers cookies that are wonderfully chewy in the center, slightly crisp around the edges, and bursting with pools of melted chocolate. They are the kind of cookies that disappear from the cooling rack at lightning speed, so be prepared to make a double batch!
Ingredients:
Cooking Instructions
Phase 1: Preparing the Dough Base
The foundation of any great cookie lies in the creaming of the butter and sugars. It’s crucial to start with softened, but not melted, butter. You want it to be pliable and easily mashable with a fork. If your butter is too cold, you can microwave it in 10-second intervals, stirring in between, until it reaches the right consistency. In a large mixing bowl, combine the softened salted butter with the white sugar and packed light brown sugar. Using an electric mixer (or a sturdy whisk and some elbow grease!), cream these ingredients together until the mixture is light and fluffy. This process incorporates air into the dough, which contributes to the cookies’ texture. Scrape down the sides of the bowl occasionally to ensure everything is evenly mixed.
Next, beat in the vanilla extract and the large egg. Mix until just combined. Overmixing at this stage can lead to tough cookies, so be mindful. The mixture might look slightly curdled, which is perfectly normal.
Phase 2: Incorporating the Dry Ingredients
In a separate medium bowl, whisk together the all-purpose flour, baking soda, and salt. Whisking the dry ingredients together ensures that the leavening agent (baking soda) and salt are evenly distributed throughout the flour, preventing pockets of bitterness or uneven rise.
Gradually add the dry ingredients to the wet ingredients, mixing on low speed until just combined. Be careful not to overmix. You should still see a few streaks of flour. Overmixing at this stage develops the gluten in the flour, which can result in a tougher cookie. We are aiming for tenderness here!
Phase 3: Adding the Chocolatey Goodness
Now for the best part – the chocolate! Gently fold in the chocolate chips and chocolate chunks. I like to reserve a small handful of chips and chunks to press onto the tops of the cookies before baking. This gives them a beautiful, artisanal look and ensures that extra melty chocolate on the surface. You can use a spatula or a wooden spoon for this step. The goal is to distribute the chocolate evenly without overworking the dough.
Phase 4: Chilling the Dough (A Crucial Step!)
This is perhaps the most important step for achieving that perfect soft and chewy texture. Cover the bowl tightly with plastic wrap and refrigerate the dough for at least 30 minutes, but ideally for 2 to 24 hours. Chilling the dough allows the flour to hydrate, the sugars to dissolve more completely, and the butter to firm up. This prevents the cookies from spreading too much during baking and concentrates the flavors. The longer the dough chills, the more developed and complex the flavor will become. If you’re short on time, 30 minutes in the freezer will also do the trick.
Phase 5: Baking the Perfect Cookies
Preheat your oven to 375°F (190°C). Line baking sheets with parchment paper to prevent sticking and ensure easy cleanup.
Scoop rounded tablespoons of the chilled dough onto the prepared baking sheets, leaving about 2 inches between each cookie to allow for spreading. If you reserved some chocolate chips, gently press them onto the tops of the cookie dough balls now.
Bake for 9-11 minutes, or until the edges are lightly golden brown and the centers still look slightly underbaked. The cookies will continue to cook as they cool on the baking sheet. This is the secret to a soft center! Don’t be tempted to overbake them. Remove the baking sheets from the oven and let the cookies cool on the sheets for 5-10 minutes before transferring them to a wire rack to cool completely. This resting period on the hot baking sheet is essential for setting their shape and achieving that delightful chegrape juicess.
Enjoy these best soft chocolate chip cookies warm with a glass of milk, or let them cool and store them in an airtight container for a few days. They also freeze beautifully, so you can have a stash of deliciousness ready whenever a craving strikes!
Conclusion:
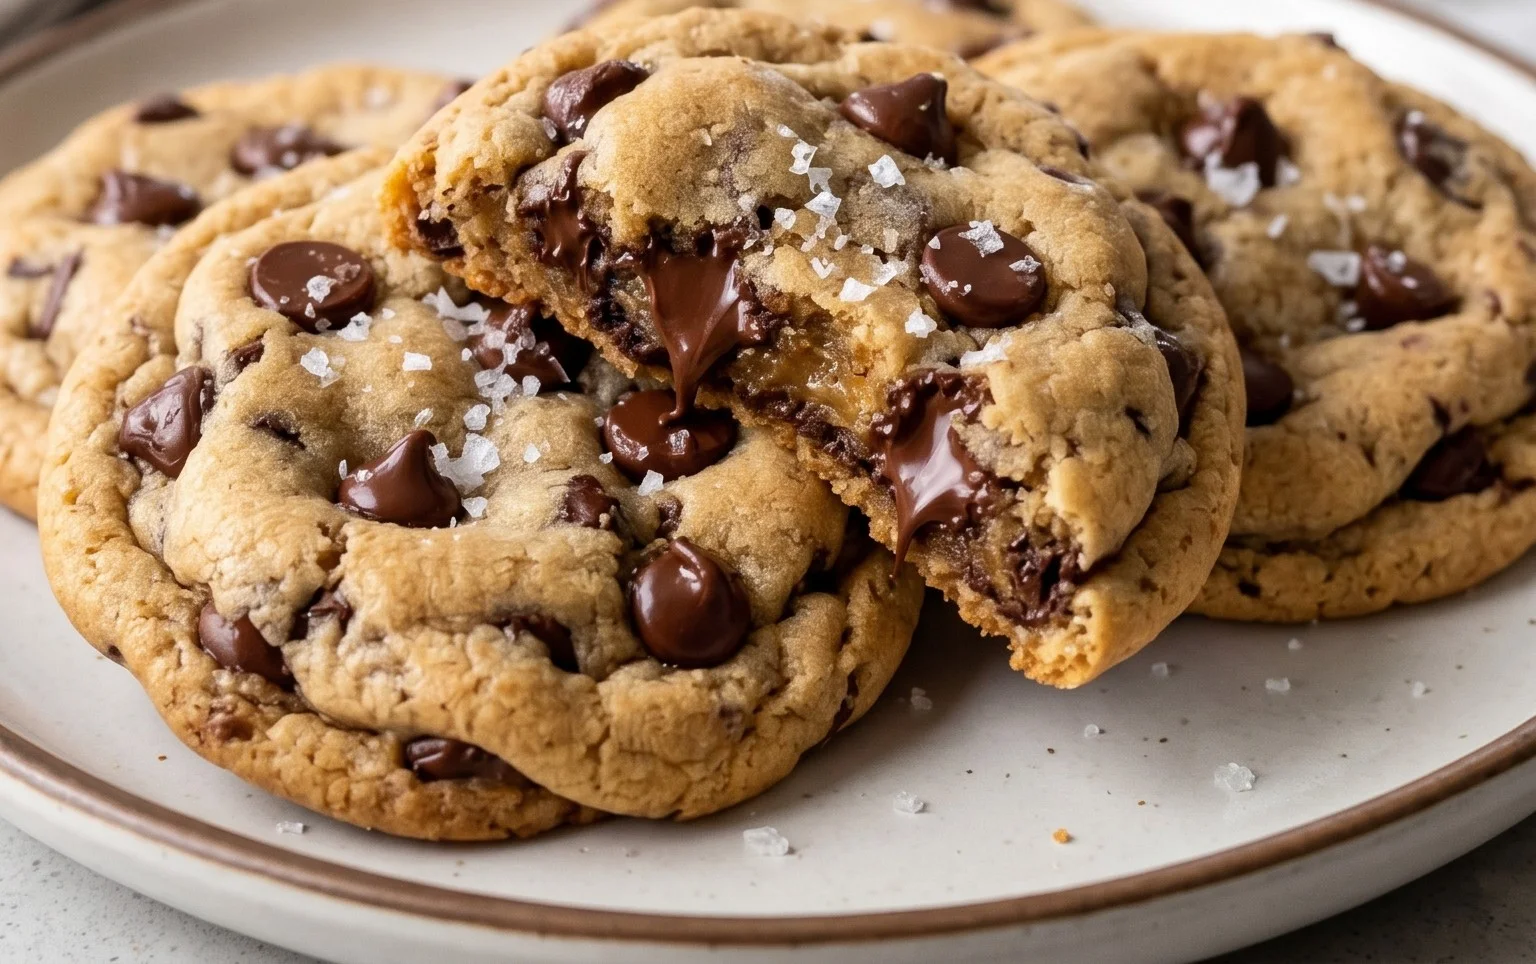
There you have it – the ultimate guide to baking the best soft chocolate chip cookies! This recipe truly delivers on its promise of a wonderfully chewy center with slightly crisp edges. The key lies in the precise measurements, the chilling of the dough (which prevents over-spreading and deepens flavor), and the careful baking time. These cookies are incredibly versatile and are perfect for any occasion, from a casual afternoon treat to a celebratory dessert. Imagin extracte them warm from the oven, the chocolate chips still molten, paired with a cold glass of milk – pure bliss! You can also elevate them further by adding a sprinkle of sea salt on top before baking for a delightful sweet and salty contrast, or even folding in chopped nuts like walnuts or pecans for added texture. I truly encourage you to give this recipe a try; I’m confident it will become a new favorite in your baking repertoire!
Frequently Asked Questions:
Q: How do I store these soft chocolate chip cookies to maintain their texture?
To keep your cookies soft and chewy, store them in an airtight container at room temperature. Placing a slice of bread in the container can also help absorb excess moisture and maintain the desired softness. Avoid refrigerating them, as this can make them harder.
Q: Can I freeze the cookie dough?
Absolutely! This dough freezes beautifully. Scoop the dough into balls and place them on a baking sheet lined with parchment paper, then freeze until solid. Once frozen, transfer the dough balls to a freezer-safe bag or container. You can bake them directly from frozen, adding a minute or two to the baking time.
Q: What if I don’t have semi-sweet chocolate chips?
No problem! Feel free to experiment with different types of chocolate. Dark chocolate chips, milk chocolate chips, or even a mix of both will work wonderfully. You could also use chunks of your favorite chocolate bar for a more rustic look and meltier chocolate pockets.
The Best Soft Chocolate Chip Cookies
These are genuinely the best soft chocolate chip cookies, featuring a perfect balance of chewy and tender textures with a rich chocolate flavor. The raw cane sugar adds a delightful subtle crunch.
Ingredients
-
8 tablespoons of salted butter
-
1/2 cup white sugar
-
1/4 cup packed light brown sugar
-
1 teaspoon vanilla
-
1 egg
-
1 1/2 cups all purpose flour
-
1/2 teaspoon baking soda
-
1/4 teaspoon salt
-
3/4 cup chocolate chips
Instructions
-
Step 1
Preheat your oven to 375°F (190°C). Line baking sheets with parchment paper. -
Step 2
In a large bowl, cream together the softened salted butter, white sugar, and packed light brown sugar until light and fluffy. -
Step 3
Beat in the vanilla extract and the egg until well combined. -
Step 4
In a separate medium bowl, whisk together the all-purpose flour, baking soda, and salt. -
Step 5
Gradually add the dry ingredients to the wet ingredients, mixing until just combined. Do not overmix. -
Step 6
Stir in the chocolate chips (and chunks, if using) until evenly distributed throughout the dough. -
Step 7
Drop rounded tablespoons of dough onto the prepared baking sheets, spacing them about 2 inches apart. -
Step 8
Bake for 9-11 minutes, or until the edges are golden brown and the centers are still slightly soft. -
Step 9
Let the cookies cool on the baking sheets for a few minutes before transferring them to a wire rack to cool completely.
Important Information
Nutrition Facts (Per Serving)
It is important to consider this information as approximate and not to use it as definitive health advice.
Allergy Information
Please check ingredients for potential allergens and consult a health professional if in doubt.