
Crispy Baked Zucchini Chips-Easy Healthy Snack
Crispy Baked Zucchini Chips are a revelation, transforming a humble vegetable into an irresistible snack. If you’ve ever found yourself staring at a surplus of zucchini and wondering what to do with it all, prepare to be delighted. These aren’t your average soggy veggie crisps; they are wonderfully light, impossibly crunchy, and bursting with savory goodness. We all love a good snack that feels both indulgent and relatively guilt-free, and that’s exactly what these crispy baked zucchini chips deliver. What truly sets them apart is the magic of the oven, coaxing out a perfect crispness without a drop of excess oil, making them a healthier alternative to traditional fried chips. Get ready to discover your new favorite way to enjoy zucchini!
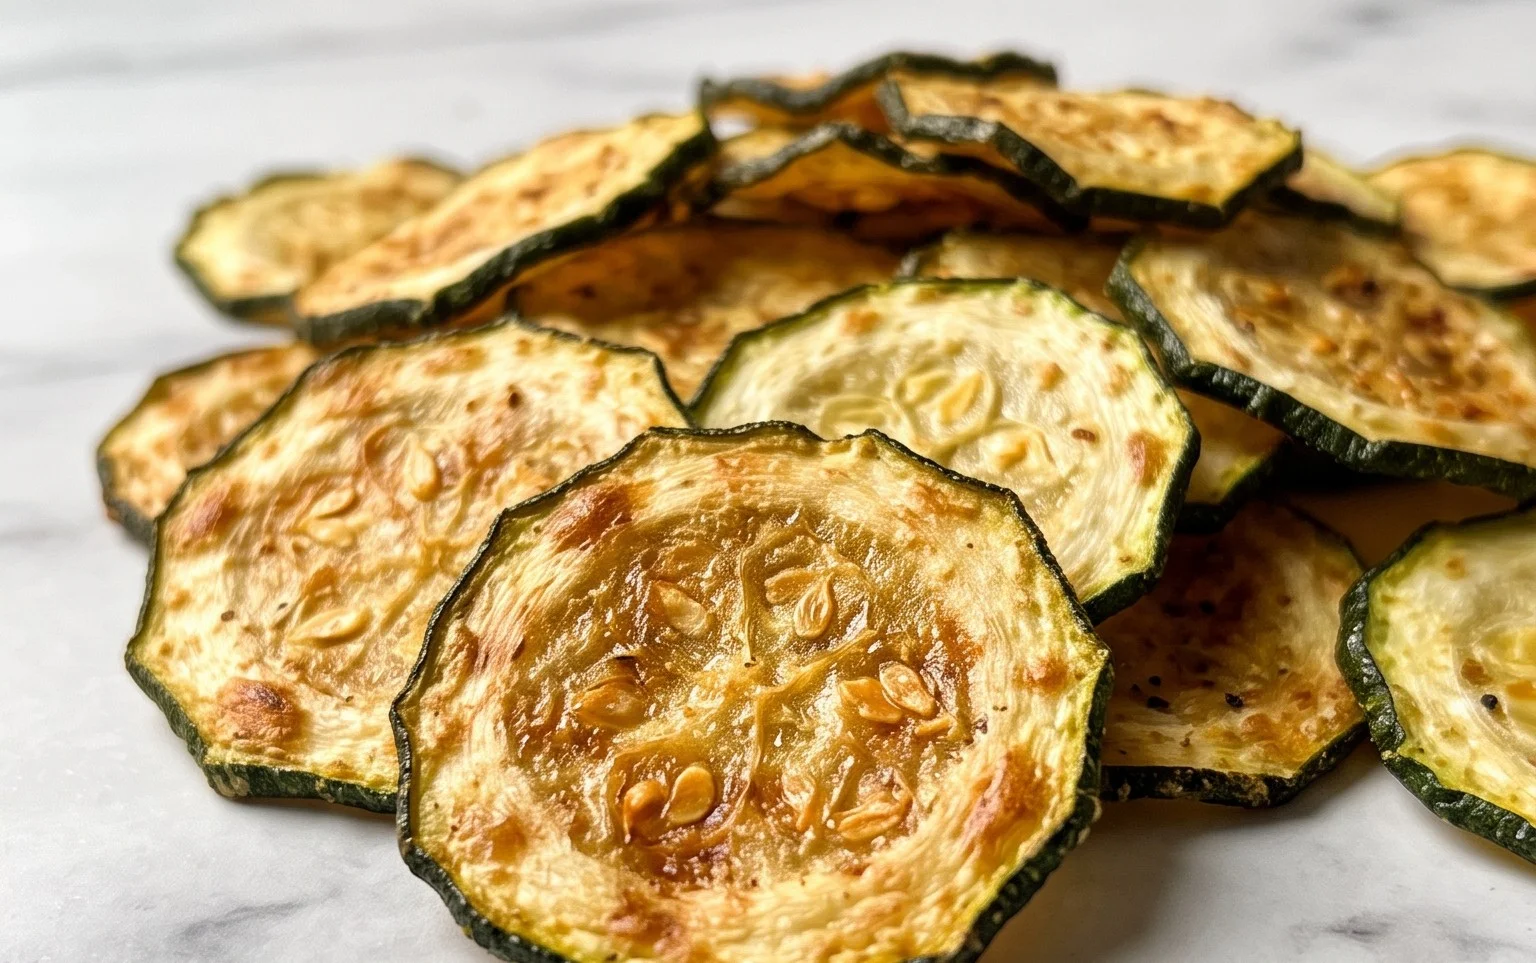
Crispy Baked Zucchini Chips
Are you looking for a healthy and delicious way to enjoy zucchini? Forget the soggy, fried versions you might have tried in the past. These Crispy Baked Zucchini Chips are a revelation! They are incredibly easy to make, require minimal ingredients, and the result is a satisfyingly crunchy snack that’s perfect for munching on its own or serving with your favorite dip. This recipe is a game-changer for anyone who loves a good crunch but wants to keep things a bit lighter. We’ll take those humble zucchini and transform them into golden, crispy delights that even picky eaters will adore.
Ingredients:
Getting Started: Preparing Your Zucchini
The first crucial step to achieving perfectly crispy zucchini chips is to properly prepare the zucchini itself. You’ll want to start with two medium-sized zucchini. The key here is the thickness of your slices. Aim for about 1/8 inch. This might seem very thin, but it’s essential for even cooking and maximum crispiness. If your slices are too thick, they’ll steam rather than crisp up, and you won’t get that satisfying crunch. If you have a mandoline slicer, this is your best friend for achieving uniform slices. Just be sure to use the safety guard! If you’re slicing by hand, take your time and be as consistent as possible.
Once your zucchini is sliced, the next important step is to draw out as much moisture as possible. Zucchini is, after all, a watery vegetable. Lay your zucchini rounds out in a single layer on a clean kitchen towel or paper towels. Sprinkle them generously with a little extra salt (beyond the 1/4 teaspoon in the recipe, you can use about 1/2 teaspoon or more for this step) and let them sit for about 15-20 minutes. You’ll notice that beads of moisture will start to form on the surface. Gently blot them dry with another towel. This step is absolutely non-negotiable for achieving crispiness. The more moisture you remove, the crispier your chips will be!
Creating the Crispy Coating
While your zucchini is busy releasing its moisture, it’s time to prepare the flavor-packed coating that will give our chips their delicious crunch. In a shallow bowl or a pie plate, combine the panko breadcrum extractbs, grated parmesan cheese, and the 1/4 teaspoon of salt. Panko breadcrum extractbs are essential here; they are much coarser than regular breadcrum extractbs and provide superior crispiness. Grated parmesan cheese adds a wonderful nutty, salty flavor that complements the zucchini beautifully. Give this mixture a good stir to ensure the cheese and salt are evenly distributed throughout the breadcrum extractbs.
In a separate, slightly larger bowl, add your 1.5 tablespoons of olive oil. You might be tempted to use more oil, but trust me, this amount is perfect. We’re aiming for a light coating, not a greasy one.
Assembling the Zucchini Chips
Now for the assembly line! Take your blotted and dried zucchini rounds. Working with a few at a time, gently toss them in the olive oil until they are lightly coated. You don’t want them to be swimming in oil, just a thin sheen on each side. This olive oil acts as the ‘glue’ for our breadcrum extractb mixture.
Once coated in oil, immediately transfer the zucchini rounds to the bowl with the panko and parmesan mixture. Toss them gently, ensuring each slice is thoroughly coated with the breadcrum extractb mixture. You want a nice, even layer of breadcrum extractbs on both sides. Press them lightly into the mixture if needed to help the coating adhere. Again, work in batches to avoid overcrowding the bowl, which can lead to uneven coating.
Baking to Golden Perfection
Preheat your oven to 400°F (200°C). Line two large baking sheets with parchment paper. Parchment paper is your friend here; it prevents sticking and makes for easy cleanup. Arrange the coated zucchini rounds in a single layer on the prepared baking sheets. Make sure the chips aren’t touching each other. If they are too crowded, they will steam instead of bake, and you won’t get that desired crispiness. You may need to use more than one baking sheet, or bake in batches.
Baking Instructions:
Preheat your oven to 400°F (200°C) and line two baking sheets with parchment paper.
Working in batches, gently toss the prepared zucchini rounds in olive oil until lightly coated.
Transfer the oiled zucchini rounds to the bowl with the panko and parmesan mixture, and toss to coat each slice thoroughly.
Arrange the coated zucchini rounds in a single layer on the prepared baking sheets, ensuring they do not overlap.
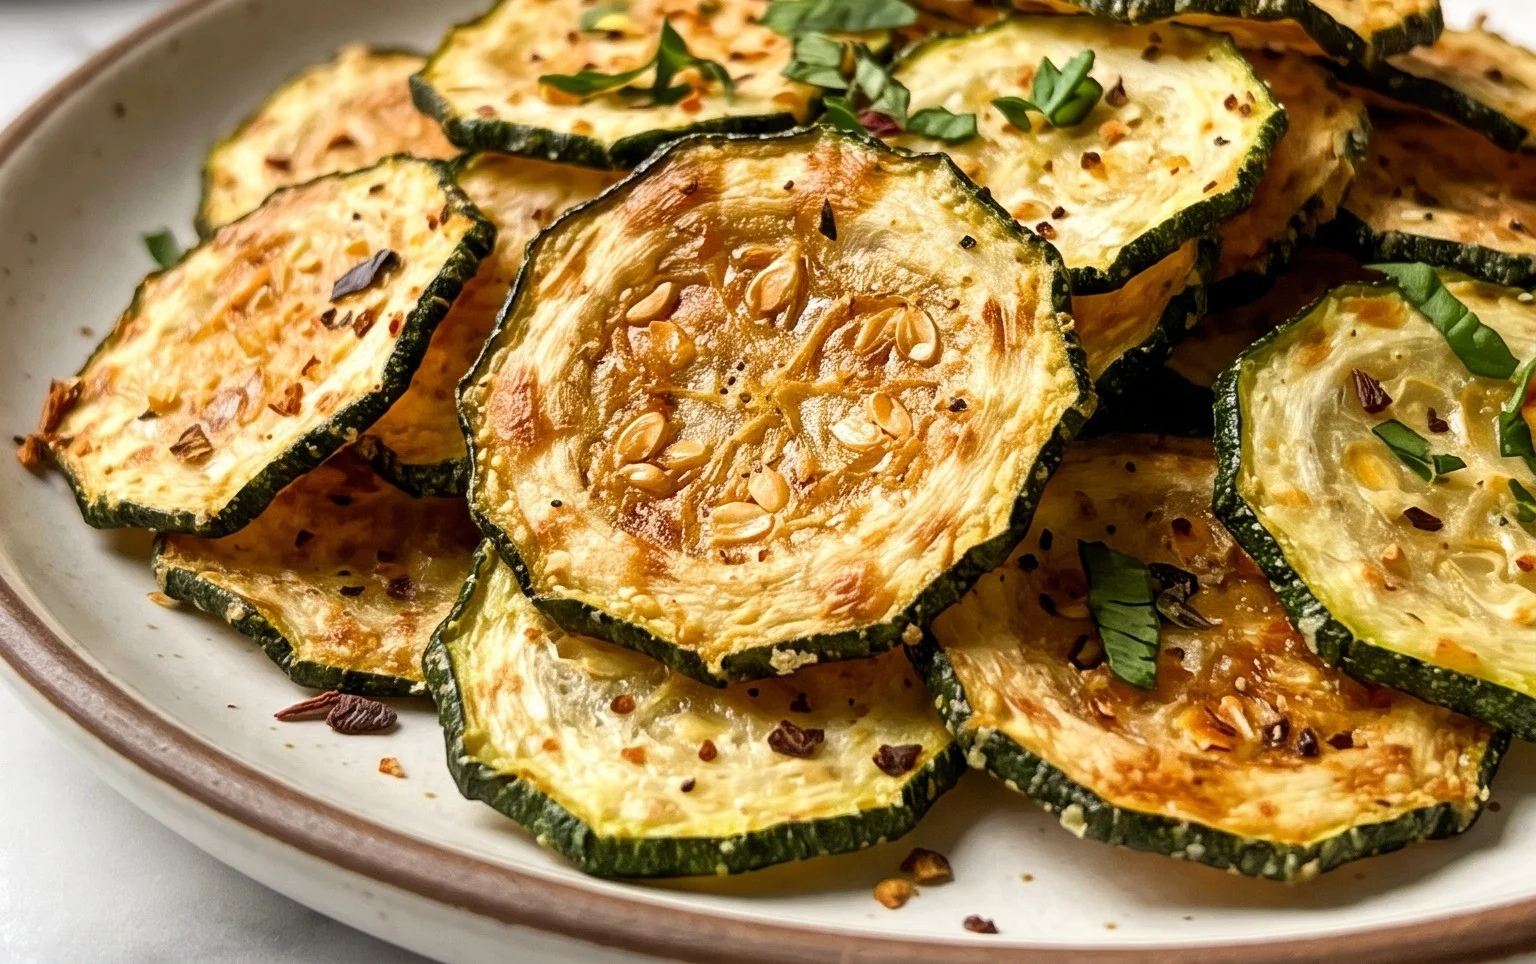
Bake for 12-18 minutes, flipping the chips halfway through, until golden brown and crispy. Keep a close eye on them as they can go from perfectly crisp to burnt very quickly! The exact baking time will depend on your oven and the thickness of your zucchini slices. You’re looking for beautiful golden-brown edges and a firm, crisp texture.
Once they’re out of the oven, resist the urge to dig in immediately! Let them cool on the baking sheets for a few minutes. They will continue to crisp up as they cool. Serve your delightful crispy baked zucchini chips warm, perhaps with a side of Greek yogurt ranch for dipping, and enjoy this healthy, crunchy snack you made yourself!
Conclusion:
So there you have it! These crispy baked zucchini chips are an absolute game-changer. They’re incredibly easy to make, wonderfully healthy, and deliver that satisfying crunch we all crave without the guilt of deep frying. This recipe is fantastic because it transforms humble zucchini into a delicious snack or appetizer that’s sure to impress. The light seasoning highlights the zucchini’s natural flavor, making them incredibly moreish.
I love serving these as a healthier alternative to potato chips, perfect for dipping in your favorite hummus, ranch dressing, or even a spicy aioli. They’re also a fantastic addition to a mezze platter or as a side for sandwiches. Don’t be afraid to experiment with variations! You can add a pinch of smoked paprika for a smoky flavor, some garlic powder for an extra kick, or even a sprinkle of nutritional yeast for a cheesy, umami taste. Give these crispy baked zucchini chips a try – I’m confident you’ll love them as much as I do!
Frequently Asked Questions:
Can I make these zucchini chips ahead of time?
While they are best enjoyed fresh for maximum crispness, you can bake them a few hours in advance and let them cool completely. Store them in an airtight container at room temperature. Reheating them briefly in a low oven (around 200°F or 95°C) for 5-10 minutes can help restore some of their crispiness.
What is the best way to slice the zucchini?
Using a mandoline slicer is ideal for achieving consistently thin and even slices, which is crucial for even baking and crispness. If you don’t have a mandoline, a very sharp knife and a steady hand will also work, but aim for slices that are about 1/8 inch thick.
Why are my zucchini chips not crispy?
Several factors can contribute to this. Ensure your zucchini slices are as dry as possible after washing and slicing – pat them thoroughly with paper towels. Don’t overcrowd the baking sheet; give the chips enough space for air to circulate. Also, make sure your oven is preheated to the correct temperature and consider baking them on a wire rack set inside the baking sheet for better air flow underneath.
Crispy Baked Zucchini Chips
Enjoy these healthy and crispy baked zucchini chips as a delicious appetizer or snack. They’re oven-baked to perfection for a satisfying crunch.
Ingredients
-
2 medium zucchini (sliced into 1/8″ rounds)
-
1.5 tablespoons olive oil
-
1/3 cup panko breadcrumbs
-
1/3 cup grated parmesan cheese
-
1/4 teaspoon salt
-
Greek yogurt ranch (for dipping)
Instructions
-
Step 1
Preheat your oven to 400°F (200°C). Line a baking sheet with parchment paper. -
Step 2
In a large bowl, toss the sliced zucchini with olive oil until evenly coated. -
Step 3
In a separate shallow dish, combine the panko breadcrumbs, grated parmesan cheese, and salt. -
Step 4
Dip each zucchini slice into the breadcrumb mixture, pressing gently to ensure it adheres well. -
Step 5
Arrange the coated zucchini slices in a single layer on the prepared baking sheet. Do not overcrowd. -
Step 6
Bake for 15-20 minutes, flipping halfway through, until golden brown and crispy. Watch closely to prevent burning. -
Step 7
Serve immediately with Greek yogurt ranch for dipping (optional).
Important Information
Nutrition Facts (Per Serving)
It is important to consider this information as approximate and not to use it as definitive health advice.
Allergy Information
Please check ingredients for potential allergens and consult a health professional if in doubt.