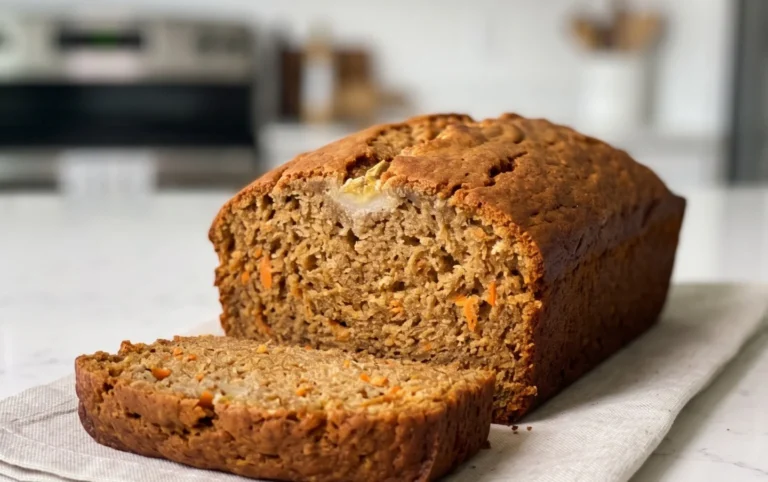
Easy Chocolate Chip Banana Bread Recipe
Easy Chocolate Chip Banana Bread is the ultimate comfort food, and I’m about to share my go-to recipe with you. There’s something incredibly satisfying about that warm, moist crum extractb studded with melty chocolate chips, all infused with the sweet, natural flavor of ripe bananas. It’s no wonder this classic is a crowd-pleaser. Whether you’re looking for a delightful breakfast treat, a satisfying afternoon snack, or a simple dessert to share, this Easy Chocolate Chip Banana Bread delivers every single time. What makes this version so special? It’s remarkably simple to whip up, requiring minimal fuss and common pantry ingredients. Plus, the addition of those luscious chocolate chips elevates it from great to absolutely irresistible, making every bite a little piece of heaven. Get ready to bake up a loaf that will disappear faster than you can say “banana bread!”
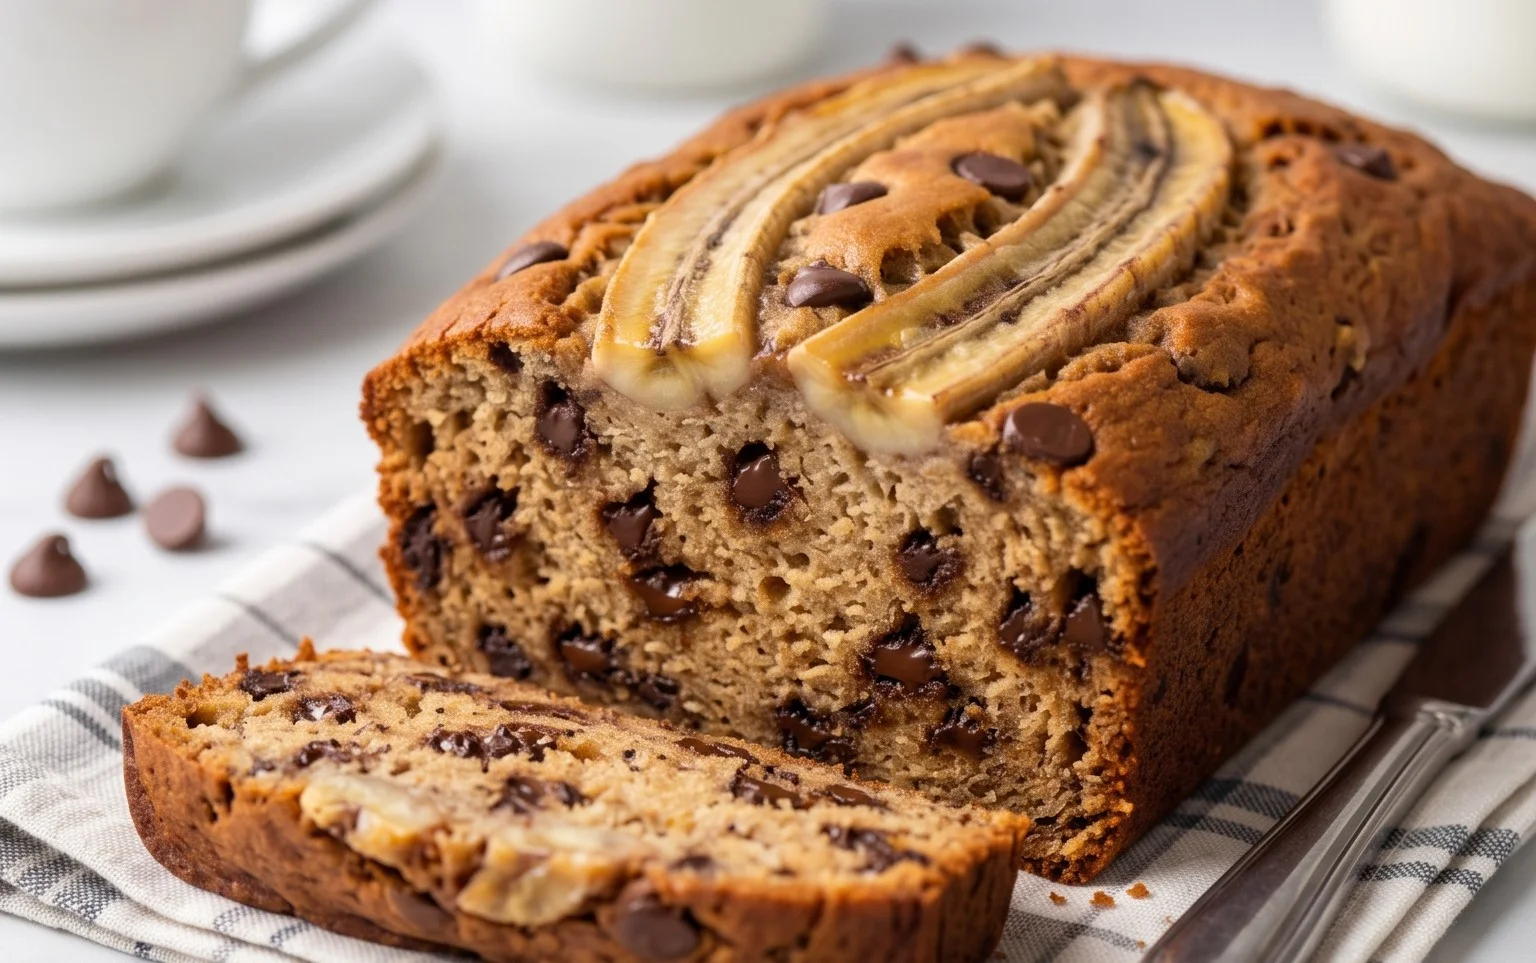
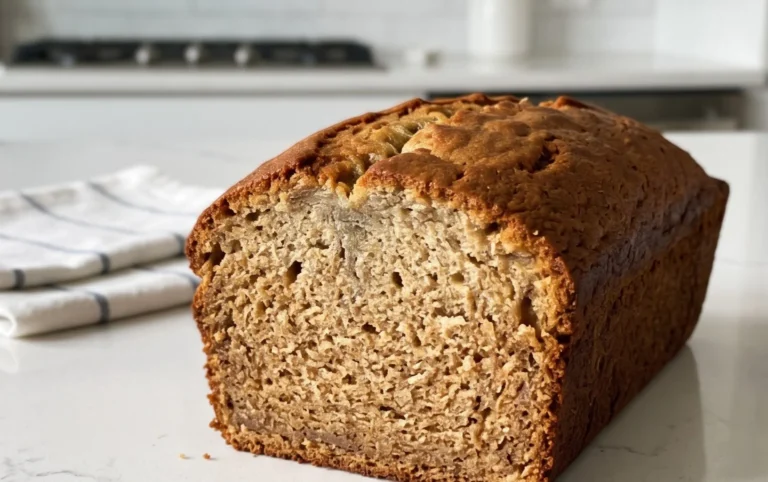
Easy Chocolate Chip Banana Bread
There’s something incredibly comforting about a warm slice of homemade banana bread, and when you add melty chocolate chips, it elevates to pure bliss. This Easy Chocolate Chip Banana Bread recipe is a weeknight savior, a weekend treat, and the perfect way to use up those overripe bananas sitting on your counter. It’s ridiculously simple to make, requiring no fancy equipment, and the results are consistently delicious – moist, tender, and bursting with banana and chocolate flavor. Get ready to impress yourself (and anyone lucky enough to share this with you!) with this foolproof recipe.
Ingredients:
Cooking Instructions:
Preparation is Key
Before we dive into the mixing, let’s get our oven preheated and our pan ready. This ensures that your banana bread bakes evenly and doesn’t stick. Preheat your oven to 350 degrees Fahrenheit (175 degrees Celsius). Grease and flour a standard 9×5 inch loaf pan. You can do this by rubbing a little butter or cooking spray all over the inside of the pan, then sprinkling in a tablespoon or two of flour and tilting and tapping the pan until the flour coats the greased surfaces. Tap out any excess flour. Alternatively, you can line the pan with parchment paper, leaving some overhang on the sides to help you lift the bread out later – a fantastic trick for easy removal. Make sure your butter is softened to room temperature. This is crucial for creaming it properly with the sugars, creating a light and airy base for your bread. If you forgot to take it out ahead of time, you can cut it into small cubes and let it sit on the counter for about 30 minutes, or briefly microwave it on a very low setting for a few seconds at a time, being careful not to melt it.
The Wet Ingredients: Building Flavor and Moisture
In a large mixing bowl, it’s time to start building the foundation of our delicious banana bread. Begin extract by mashing those overripe bananas. The riper they are, the sweeter and more potent their flavor will be, which is exactly what we want. Use a fork or a potato masher to get them as smooth as possible, but a few small lumps are perfectly fine and add lovely texture. Now, add the softened butter to the bowl with the mashed bananas. Cream these together with an electric mixer on medium speed, or vigorously by hand with a whisk, until the mixture is well combined and smooth. Next, we’ll incorporate our sugars. Add the granulated sugar and the packed brown sugar. Continue to beat until the mixture is light and fluffy, with the sugars fully incorporated. This creaming process is essential as it incorporates air into the batter, which contributes to the bread’s tender crum extractb. Now it’s time for the eggs. Make sure they are at room temperature, as this helps them emulsify better with the other ingredients, preventing a greasy texture. Add them one at a time, beating well after each addition until fully blended. Finally, stir in the pure vanilla extract. The vanilla enhances all the other flavors and adds a wonderful warmth to the bread.
The Dry Ingredients: The Structure of Deliciousness
In a separate medium-sized bowl, whisk together the dry ingredients. This ensures that the leavening agents (baking soda and baking powder) and the salt are evenly distributed throughout the flour, leading to a consistent rise and flavor in your finished bread. Add the all-purpose flour, baking soda, baking powder, and salt to the bowl. Whisk them together thoroughly until there are no visible streaks of flour or clumps of baking soda or powder. This step is quick but important for the success of your banana bread.
Combining Wet and Dry: The Magic Happens
Now comes the exciting part where all our carefully prepared ingredients come together! Gradually add the dry ingredients to the wet ingredients, mixing on low speed or stirring with a spatula until just combined. Be careful not to overmix the batter at this stage. Overmixing develops the gluten in the flour too much, which can result in a tough and dense banana bread. Stop mixing as soon as you no longer see streaks of dry flour. A few small lumps in the batter are perfectly acceptable. Finally, gently fold in the semi-sweet chocolate chips. You can reserve a small handful to sprinkle on top if you like a lot of chocolate on the surface. This is also a good time to add any other optional mix-ins like chopped nuts or a dash of cinnamon if you desire.
Baking to Perfection
Pour the batter evenly into your prepared loaf pan. Spread the top gently with your spatula to ensure it’s level. Place the loaf pan in the preheated oven. Bake for 50-65 minutes, or until a wooden skewer or toothpick inserted into the center of the loaf comes out clean or with a few moist crum extractbs attached (but no wet batter). The baking time can vary depending on your oven, so it’s always best to check for doneness starting around the 50-minute mark. If the top of your banana bread is browning too quickly before the inside is cooked, you can loosely tent it with aluminum foil for the remaining baking time.
Cooling and Enjoying
Once your banana bread is baked to golden perfection, carefully remove the pan from the oven. Let the bread cool in the pan on a wire rack for about 10-15 minutes. This allows it to set up slightly before you attempt to remove it. After the initial cooling period, invert the pan to remove the loaf onto the wire rack to cool completely. Allowing it to cool fully is important before slicing, as it will be much easier to cut and the flavors will meld together beautifully. Once cooled, slice it thick or thin, and enjoy the incredibly satisfying taste of your Easy Chocolate Chip Banana Bread. It’s delicious on its own, or served warm with a smear of butter. This bread is best enjoyed within a few days, but can be stored in an airtight container at room temperature or refrigerated for longer storage.
Conclusion:
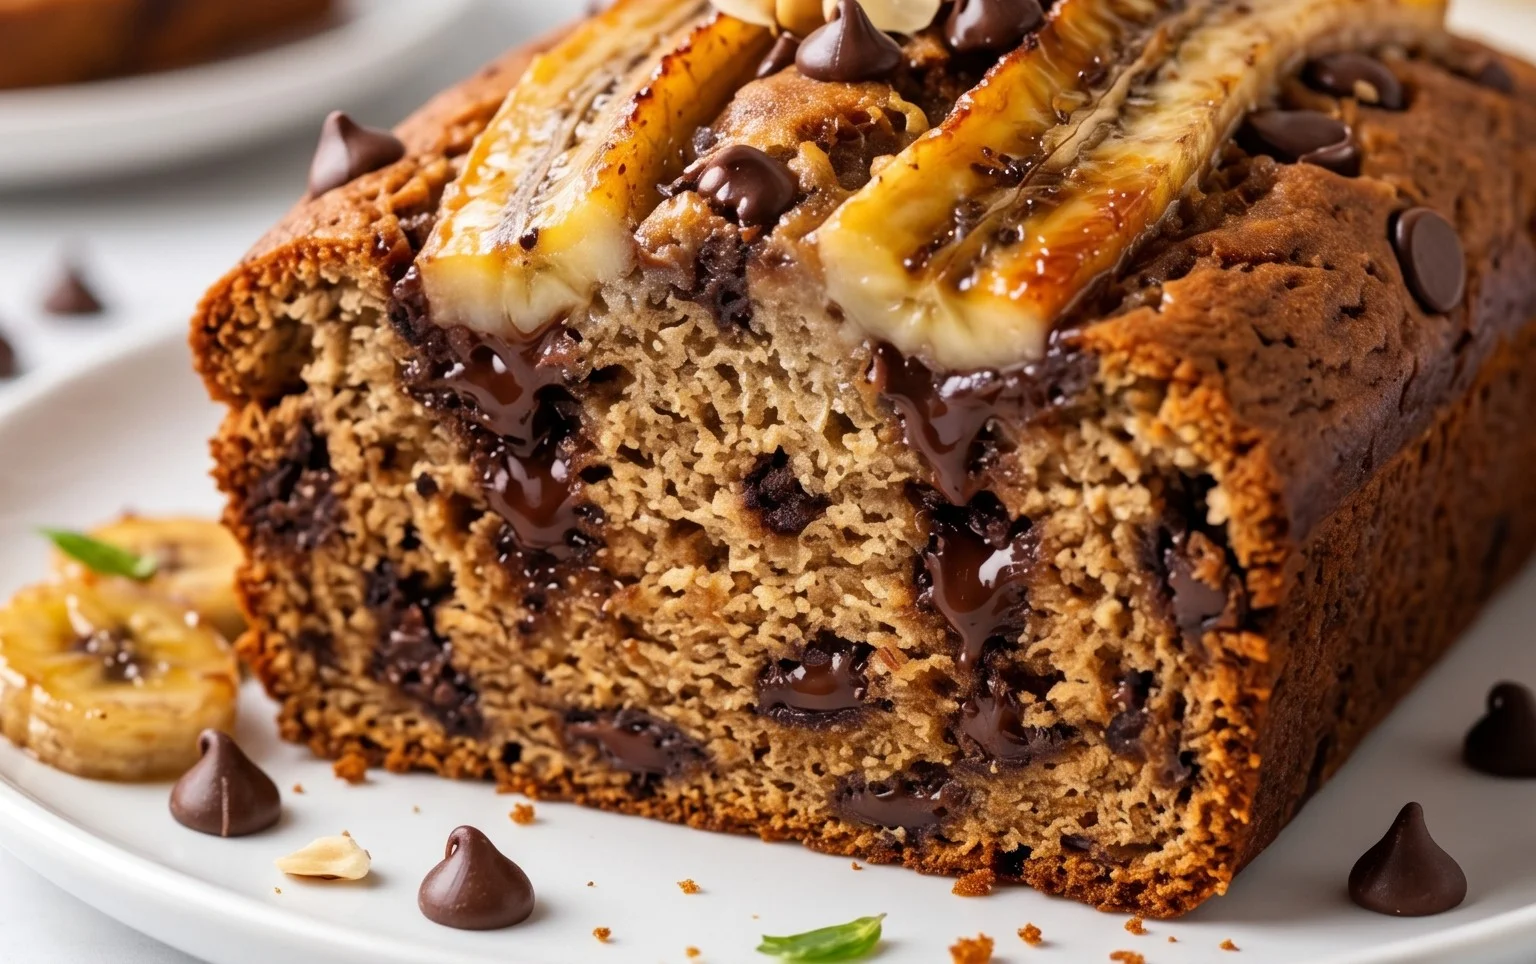
This Easy Chocolate Chip Banana Bread recipe truly is a winner! It’s wonderfully moist, bursting with the natural sweetness of ripe bananas, and studded with delightful pockets of melted chocolate. The simplicity of the recipe makes it perfect for bakers of all skill levels, and the aroma that fills your kitchen as it bakes is simply divine. I know you’ll love how effortlessly this comes together for a delicious treat.
This banana bread is fantastic served warm, perhaps with a generous smear of butter. It also makes a wonderful addition to a brunch spread, a delightful afternoon snack, or even a sweet breakfast on the go. For a little extra indulgence, try drizzling it with a simple chocolate ganache or serving it alongside a scoop of vanilla ice cream.
Don’t be afraid to get creative with variations! You could add a handful of chopped walnuts or pecans for a delightful crunch, or a pinch of cinnamon and nutmeg for a warmer, spiced flavor profile. Some people even like to add a tablespoon of instant espresso powder to the dry ingredients to enhance the chocolate flavor. I highly encourage you to give this recipe a try – I promise you won’t be disappointed!
Frequently Asked Questions:
Can I use overripe bananas?
Absolutely! Overripe bananas are actually ideal for banana bread. Their sugars caramelize more during baking, resulting in a sweeter, more intensely flavored, and incredibly moist loaf. The browner and spottier, the better!
How do I store leftover banana bread?
Once completely cooled, wrap the banana bread tightly in plastic wrap or place it in an airtight container. It will stay fresh at room temperature for about 2-3 days. For longer storage, you can refrigerate it for up to a week, or freeze slices or the whole loaf for up to 3 months.
Can I make this recipe vegan?
Yes, you can! To make this Easy Chocolate Chip Banana Bread vegan, simply substitute the eggs with a flax egg (1 tablespoon flaxseed meal mixed with 3 tablespoons water, let sit for 5 minutes) and use a dairy-free milk alternative (like almond or soy milk) and vegan chocolate chips.
Easy Chocolate Chip Banana Bread
A simple and delicious recipe for moist banana bread loaded with chocolate chips. Perfect for using up overripe bananas.
Ingredients
-
4 overripe bananas
-
1/2 cup unsalted butter (softened)
-
1/4 cup granulated sugar
-
1/4 cup brown sugar (packed)
-
2 large eggs (room temperature)
-
1 teaspoon pure vanilla extract
-
1 1/2 cups all purpose flour
-
1 teaspoon baking soda
-
1/2 teaspoon baking powder
-
1/2 teaspoon salt
-
1 cup semi sweet chocolate chips
Instructions
-
Step 1
Preheat oven to 350°F (175°C). Grease and flour a 9×5 inch loaf pan. -
Step 2
In a large bowl, mash the overripe bananas until smooth. -
Step 3
Add the softened butter, granulated sugar, brown sugar, eggs, and vanilla extract to the mashed bananas. Beat until well combined. -
Step 4
In a separate bowl, whisk together the all-purpose flour, baking soda, baking powder, and salt. -
Step 5
Gradually add the dry ingredients to the wet ingredients, mixing until just combined. Do not overmix. -
Step 6
Fold in the semi sweet chocolate chips. -
Step 7
Pour the batter into the prepared loaf pan and bake for 50-60 minutes, or until a wooden skewer inserted into the center comes out clean. -
Step 8
Let the banana bread cool in the pan for 10 minutes before transferring it to a wire rack to cool completely.
Important Information
Nutrition Facts (Per Serving)
It is important to consider this information as approximate and not to use it as definitive health advice.
Allergy Information
Please check ingredients for potential allergens and consult a health professional if in doubt.