Easy Homemade Fruit Leather Recipe – Healthy Snack
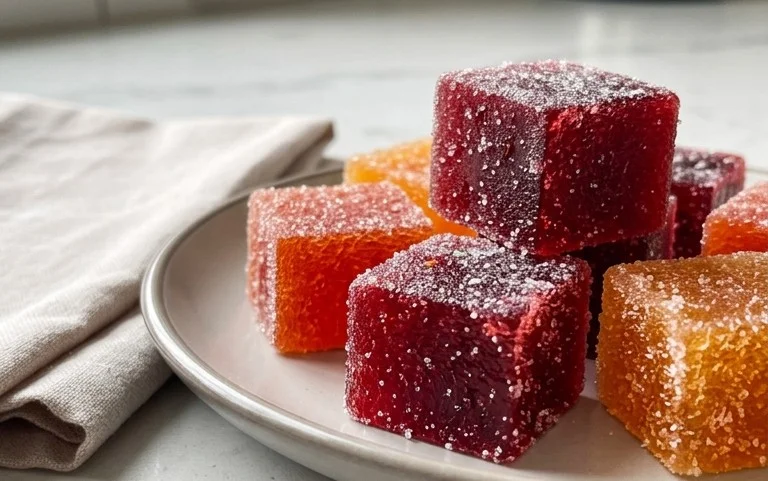
Homemade Fruit Leather Recipe is a delightful journey back to childhood, a chewy, sweet, and tangy treat that’s surprisingly easy to make in your own kitchen. We all remember those vibrant, individually wrapped strips from the grocery store, right? Well, get ready to elevate that nostalgic experience because crafting your own fruit leather is not only incredibly rewarding but also allows you complete control over the ingredients and flavors. Forget the artificial colors and excessive sugars; our homemade fruit leather recipe focuses on the pure, unadulterated goodness of fresh fruit. It’s the perfect way to preserve seasonal bounty, create healthy snacks for the kids (or yourself!), and experiment with exciting flavor combinations. The satisfaction of peeling back that perfectly dried fruit creation is simply unparalleled. Let’s dive into how we can achieve this simple yet sensational snack!
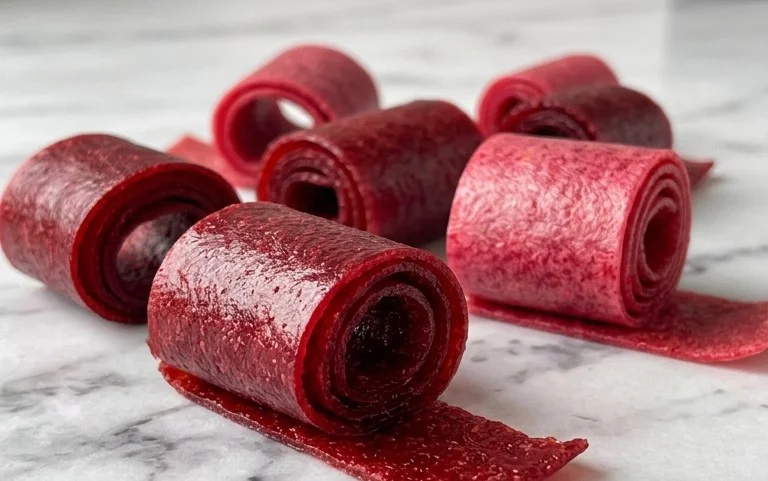
Homemade Fruit Leather Recipe
There’s something incredibly satisfying about making your own fruit leather. It’s a simple process, and the result is a wonderfully chewy, intensely flavored treat that’s far superior to anything you’ll find in a store. Plus, you have complete control over the ingredients, making it a healthier alternative for a sweet snack. Imagin extracte vibrant colors and the pure taste of fruit – that’s what homemade fruit leather is all about! It’s a fantastic way to use up seasonal fruits that might be reaching their peak ripeness, and it’s a project the whole family can get involved in. The drying process concentrates the natural sugars, resulting in a delightful sweetness that kids and adults alike will love.
Ingredients:
The beauty of fruit leather is its versatility. You can use almost any fruit you have on hand! Berries like strawberries, raspberries, blueberries, and blackberries are fantastic. Stone fruits such as peaches, apricots, and plums work wonderfully too. Apples and pears are also great options, though they might require a bit more cooking time to soften. For this recipe, we’ll assume you’ve chosen a delightful blend of your favorite fruits. Ensure your fruit is ripe for the best flavor and sweetness. If using frozen fruit, thaw it completely and drain off any excess liquid before chopping. The sugar amount can be adjusted slightly depending on the natural sweetness of your fruit; taste your fruit puree before adding sugar and adjust accordingly. The lemon juice is crucial not only for flavor, brightening the fruit’s taste, but also for its natural pectin, which helps the fruit leather set properly.
Preparation and Cooking:
1. Prepare the Fruit: Begin extract by washing your chosen fruits thoroughly. If you’re using larger fruits like apples or peaches, core them and chop them into roughly 1-inch pieces. For berries, you can leave them whole or halve larger ones. The goal is to have pieces that will cook down evenly. Place the chopped fruit into a medium saucepan.
2. Cook the Fruit: Add the white sugar and the juice of half a lemon to the saucepan with the fruit. The lemon juice will add a lovely brightness and help preserve the fruit’s vibrant color. Stir everything together. Place the saucepan over medium heat and bring the mixture to a gentle simmer. Reduce the heat to low, cover the saucepan, and let the fruit cook for about 10-15 minutes, or until the fruit is very soft and has broken down significantly. Stir occasionally to prevent sticking. You want the fruit to be tender enough to mash easily.
3. Puree the Fruit Mixture: Once the fruit is soft, remove the saucepan from the heat. Using an immersion blender, a regular blender, or a food processor, carefully puree the cooked fruit mixture until it is completely smooth. If you don’t have a blender, you can use a potato masher to mash the fruit as finely as possible, though the texture will be slightly less smooth. You want a consistency similar to applesauce. For an even silkier texture, you can pass the puree through a fine-mesh sieve, but this step is entirely optional. Taste the puree at this stage. If your fruit wasn’t very sweet, you can add a little more sugar, but remember it will concentrate as it dries.
4. Prepare for Drying: Preheat your oven to its lowest setting, typically around 170°F (75°C). Line a baking sheet with parchment paper or a silicone baking mat. It’s important to use parchment paper or a silicone mat, as fruit leather can stick fiercely to a regular baking sheet. Pour the fruit puree onto the prepared baking sheet. Using a spatula, spread the puree out evenly into a thin, uniform layer, about 1/8 to 1/4 inch thick. Try to make the thickness as consistent as possible across the entire sheet to ensure even drying. Leave a small border around the edges to prevent it from dripping over.
5. Drying the Fruit Leather: Carefully place the baking sheet into the preheated oven. The oven door should be propped open slightly, about 1 inch, to allow moisture to escape. You can do this by placing a wooden spoon or a rolled-up piece of aluminum foil in the door. Let the fruit leather dry for 4-8 hours, or even longer, depending on your oven’s temperature and the thickness of the puree. Check on it periodically. The fruit leather is ready when it is no longer sticky to the touch and peels away cleanly from the parchment paper. It should be pliable but firm. If it’s still tacky, continue drying.
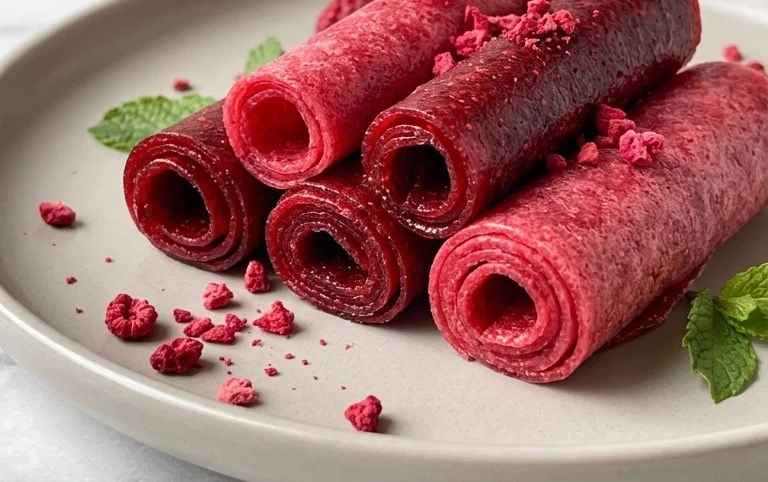
6. Cooling and Storing: Once the fruit leather is dried to your liking, carefully remove it from the oven. Let it cool completely on the baking sheet. Once cool, peel the fruit leather from the parchment paper. You can then cut it into strips or squares using a pizza cutter or kitchen scissors. To store, roll up the individual strips or stack the squares, and wrap them tightly in plastic wrap or place them in an airtight container. Homemade fruit leather can be stored at room temperature for about a week, or in the refrigerator for several weeks. For longer storage, you can freeze it. Enjoy your delicious, homemade fruit leather!
Conclusion:
You’ve now got the key to unlocking a world of delicious, healthy, and incredibly satisfying homemade fruit leather! This recipe is fantastic because it allows you to control the ingredients, avoiding unnecessary sugars and preservatives often found in store-bought versions. It’s a wonderful way to use up ripe fruit and create a delightful snack that kids and adults alike will adore. The vibrant colors and natural sweetness make it a perfect addition to lunchboxes, hiking trips, or just a simple treat for a quiet afternoon.
Serving suggestions are endless! Enjoy your homemade fruit leather as is, or get creative. It can be cut into fun shapes for parties, rolled around small cookies, or even incorporated into yogurt parfaits. Don’t be afraid to experiment with different fruit combinations – think mango-raspberry, apple-cinnamon, or even a tropical pineapple-banana blend. The possibilities truly are as vast as your imagin extractation! I wholeheartedly encourage you to give this homemade fruit leather recipe a try. It’s surprisingly simple, rewarding, and the taste of sun-ripened fruit in a chewy, portable form is just unbeatable.
Frequently Asked Questions:
How long does homemade fruit leather last?
When stored properly in an airtight container or wrapped tightly in plastic wrap and kept in a cool, dry place, your homemade fruit leather can last for up to two weeks. For longer storage, you can freeze it for several months.
Can I make fruit leather without a dehydrator?
Absolutely! As detailed in the recipe, you can easily make fruit leather in your oven on the lowest setting, or even in a slow cooker on its lowest heat setting with the lid slightly ajar. Patience is key, but the results are just as delicious!
What if my fruit leather is too sticky?
If your fruit leather is still a bit sticky after cooling, you can try lightly dusting it with a little powdered sugar or cornstarch before cutting and rolling. Alternatively, you might need to let it dehydrate for a little longer.
Homemade Fruit Leather Recipe
Create delicious and healthy homemade fruit leather using your favorite fruits, sugar, and lemon juice. A simple and fun way to preserve fruit.
Ingredients
-
2 cups fruit, chopped
-
3 tbsp white sugar
-
1/2 whole lemon, just the juice
-
1/4 cup water
-
1/4 tsp salt
-
1/2 tsp vanilla extract
Instructions
-
Step 1
Puree the chopped fruit in a blender or food processor until smooth. -
Step 2
In a saucepan, combine the fruit puree, white sugar, lemon juice, water, and salt. Cook over medium heat, stirring constantly, until the sugar is dissolved and the mixture thickens slightly, about 5-7 minutes. -
Step 3
Stir in the vanilla extract. -
Step 4
Pour the mixture onto a baking sheet lined with parchment paper or a silicone baking mat. Spread it out evenly into a thin layer. -
Step 5
Bake in a preheated oven at 175°F (80°C) for 3-4 hours, or until the fruit leather is no longer sticky to the touch and peels easily from the parchment paper. -
Step 6
Allow to cool completely on the baking sheet before cutting into strips or shapes.
Important Information
Nutrition Facts (Per Serving)
It is important to consider this information as approximate and not to use it as definitive health advice.
Allergy Information
Please check ingredients for potential allergens and consult a health professional if in doubt.