Gluten-Free Sweet Potato Tortillas Vegan Wraps
Sweet potato tortillas, oh where do I even begin extract? If you’re searching for that perfect gluten-free, vegan wrap that doesn’t crum extractble or taste like cardboard, you’ve landed in the right place. I’ve been on a quest for the ultimate versatile wrap, and let me tell you, these sweet potato tortillas are a game-changer. Forget the usual suspects that leave you feeling heavy or disappointed. What makes these so special is the vibrant color and subtly sweet, earthy flavor that sweet potatoes bring to the table. They’re naturally soft, pliable, and hold together beautifully, making them ideal for everything from breakfast burritos to loaded lunch wraps. You’ll love how easily they come together, proving that delicious, healthy, and inclusive eating can be wonderfully simple and utterly satisfying.
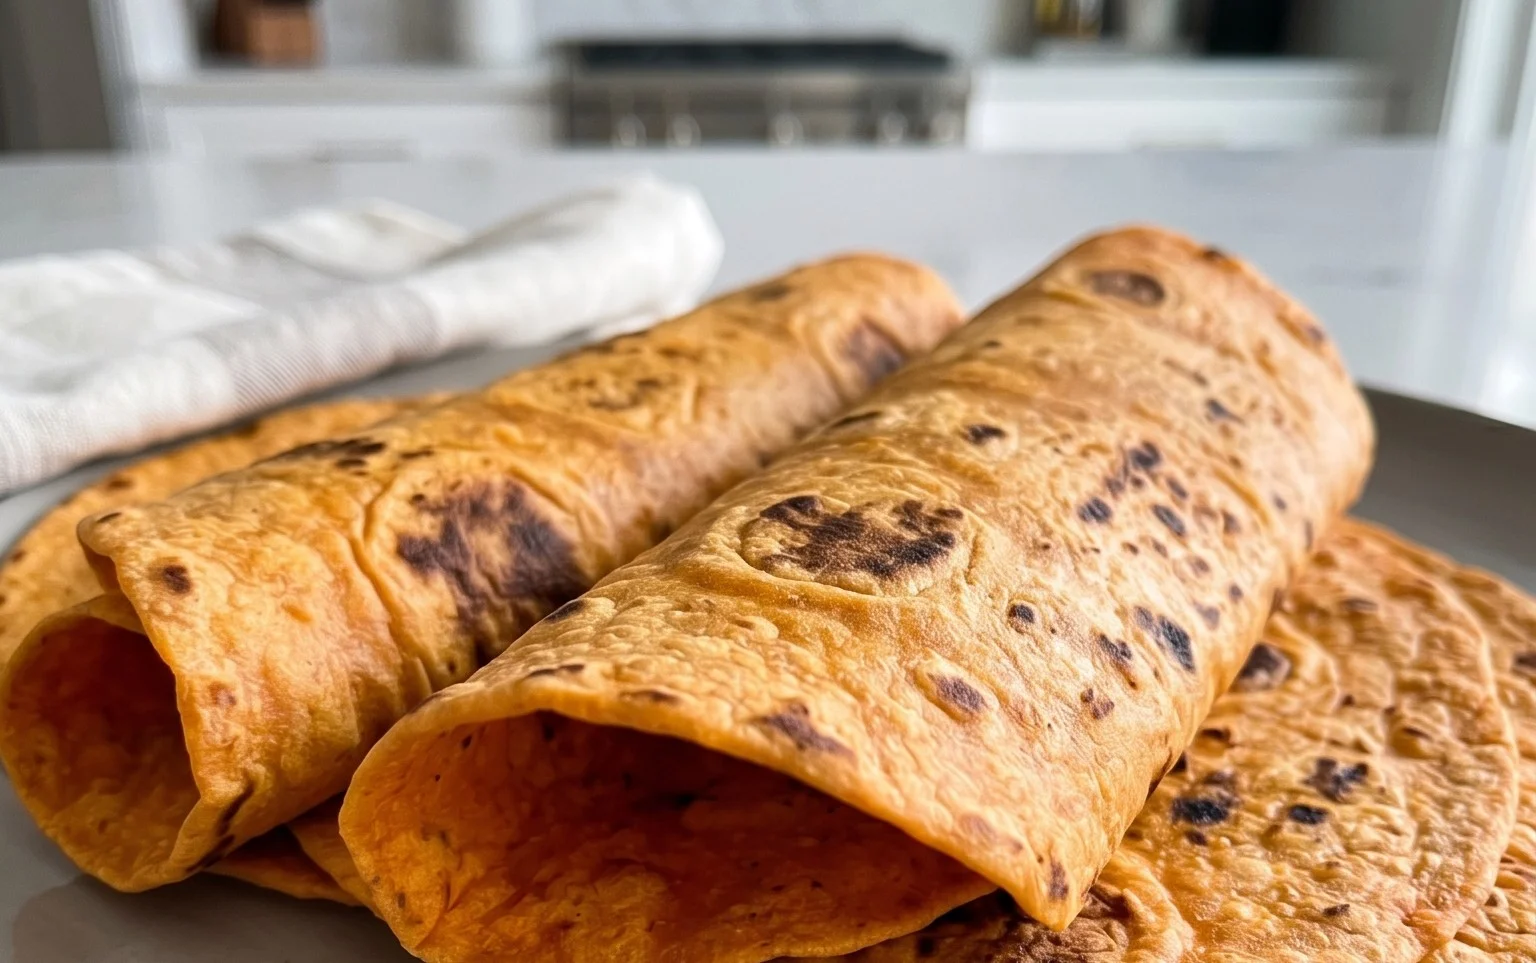
Sweet Potato Tortillas (Gluten-Free Vegan Wraps)
Are you on the hunt for a delicious, healthy, and versatile gluten-free and vegan wrap? Look no further! These Sweet Potato Tortillas are incredibly satisfying, packed with flavor, and wonderfully pliable. They’re perfect for everything from breakfast burritos to lunch wraps and even a fun base for mini pizzas. The natural sweetness of the sweet potato adds a delightful depth that regular tortillas just can’t match. Plus, they’re surprisingly easy to make at home, even if you’re new to gluten-free baking.
The magic of these tortillas lies in the combination of nutrient-rich sweet potato, a touch of vegan butter for richness, and the binding power of psyllium husk. Psyllium husk is a fantastic gluten-free ingredient that helps create elasticity and a pleasing chegrape juicess, mimicking the texture you’d expect from a traditional tortilla. Don’t be intimidated by the sourdough starter – it adds a subtle tang and helps with fermentation, but I’ll also provide a workaround if you don’t have any on hand. Get ready to elevate your wrap game!
Ingredients:
Notes on Gluten-Free Sourdough Starter:
If you don’t have a gluten-free sourdough starter, you can substitute it with 3/4 cup of water mixed with 1/4 cup of gluten-free all-purpose flour and 1 tablespoon of apple cider vinegar. Let this mixture sit at room temperature for at least 12-24 hours to allow it to develop a slight tang and activate. It won’t be exactly the same as a mature starter, but it will provide the necessary acidity and a bit of leavening for these tortillas.
Cooking Instructions:
Step 1: Prepare the Sweet Potato Base
Begin extract by preparing your sweet potatoes. You want them to be cooked until fork-tender. Steaming or boiling are the best methods. Crucially, when you mash them, ensure there is absolutely no excess liquid. You’re looking for a dry, smooth puree. Any excess moisture can make your dough too sticky and difficult to work with, potentially leading to gummy tortillas. A potato masher or a food mill works wonderfully here. Once mashed, set them aside to cool slightly so they are easier to handle.
Step 2: Combine Wet and Dry Ingredients
In a large mixing bowl, combine the slightly cooled mashed sweet potato with the vegan butter (or oil). Stir until the butter is fully incorporated and you have a smooth, creamy mixture. Now, add the hot water. Start with just 1 tablespoon. This hot water helps to activate the psyllium husk, making it gel and bind the dough. Stir in the sea salt, black pepper, onion powder, and garlic powder. Mix everything thoroughly until all the seasonings are evenly distributed. The dough will start to take on a beautiful orange hue from the sweet potato.
Step 3: Incorporate the Gluten-Free Magic
Next, it’s time to introduce the gluten-free sourdough starter (or your substitute). Add the 3/4 cup of starter to the sweet potato mixture and stir until just combined. Then, sprinkle the psyllium husk over the wet ingredients. Stir vigorously. You’ll notice the mixture begin extractning to thicken as the psyllium husk absorbs moisture. This is exactly what you want! Now, add the arrowroot flour (or your chosen starchy flour) and the optional baking powder. If you’re using baking powder, it will contribute to a slightly puffier, more traditional tortilla texture.
Step 4: Knead and Rest the Dough
Gently bring the dough together in the bowl. It will be quite sticky at first, which is normal for gluten-free doughs. You can use a spatula or your hands, lightly floured with a bit of arrowroot flour, to help form a cohesive ball. Avoid overworking the dough at this stage. Once the dough has come together, cover the bowl with a clean kitchen towel or plastic wrap and let it rest for about 15-20 minutes. This resting period is important. It allows the psyllium husk to fully hydrate and thicken, making the dough much easier to handle and roll out. It also allows the flavors to meld together.
Step 5: Shaping and Cooking the Tortillas
This is where your tortillas start to take shape! Lightly flour your work surface with arrowroot flour. Divide the dough into 6-8 equal portions, depending on how large you want your tortillas. Roll each portion into a ball. Take one dough ball at a time and place it between two sheets of parchment paper or on a lightly floured surface. Use a rolling pin to flatten each ball into a thin, round tortilla, about 6-8 inches in diameter. Aim for an even thickness for consistent cooking.
Step 6: Cooking to Golden Perfection
Heat a non-stick skillet or griddle over medium heat. You don’t typically need oil for cooking these, but a very light brush can help if your pan tends to stick. Carefully place one rolled-out tortilla into the hot skillet. Cook for about 2-3 minutes per side, or until golden brown spots appear and the tortilla is cooked through. You’ll see small bubbles forming on the surface as it cooks. Flip it gently with a spatula. Repeat this process with the remaining dough portions. As you cook them, stack the finished tortillas on a plate and cover them with a clean kitchen towel to keep them warm and pliable. This will prevent them from drying out and becoming brittle. Enjoy your delicious homemade Sweet Potato Tortillas!
Conclusion:
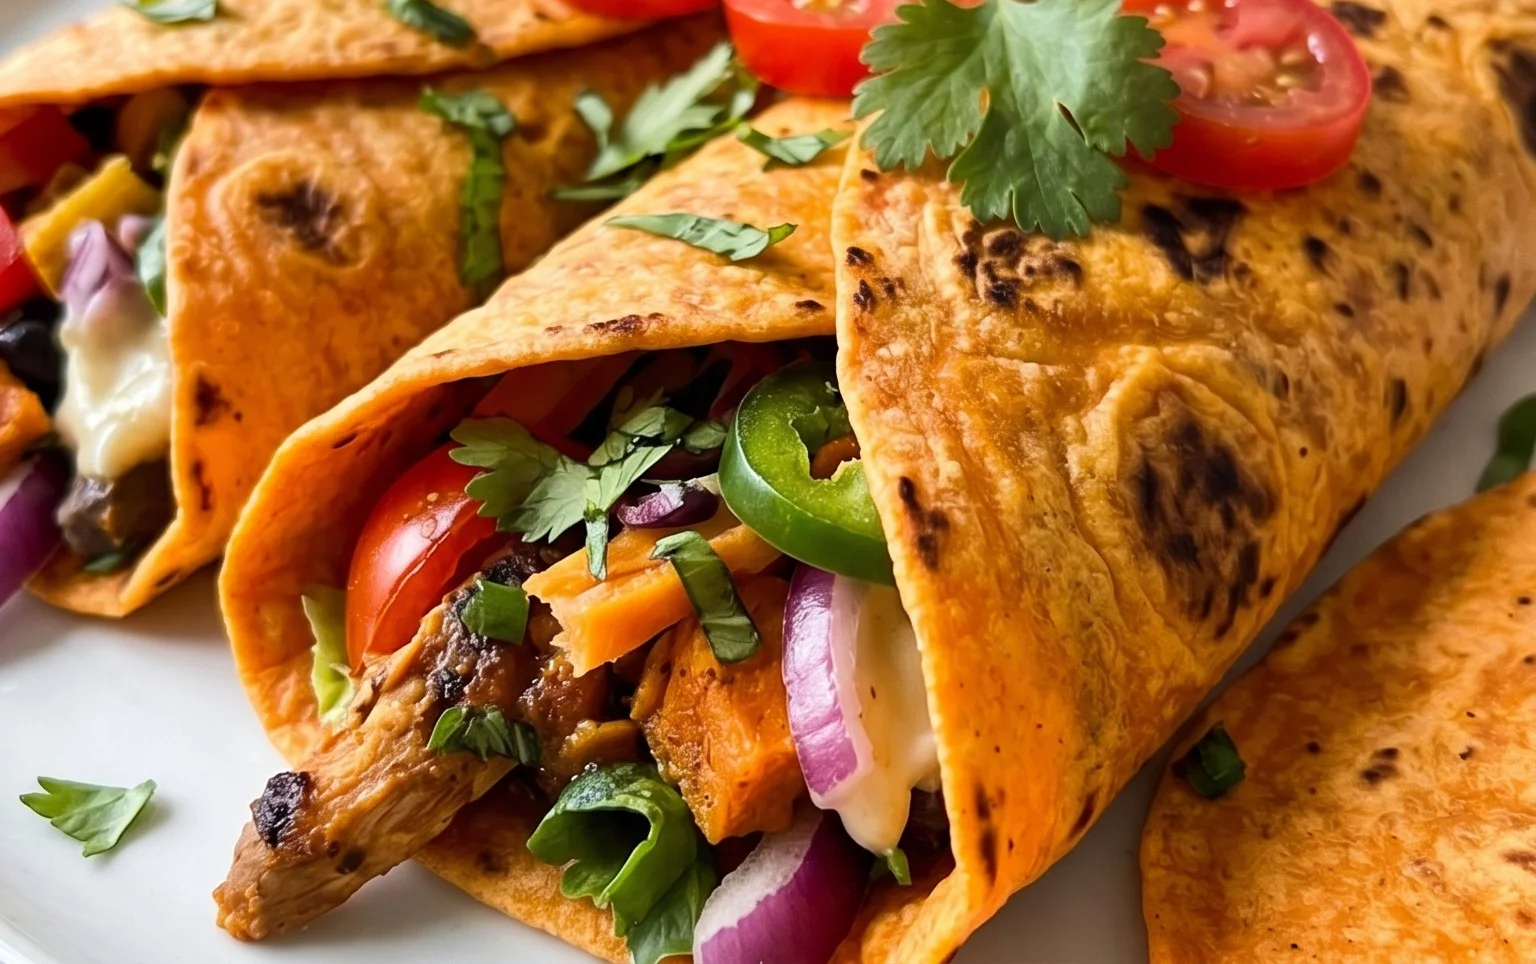
I hope you’re as excited as I am about these delicious and versatile Sweet Potato Tortillas (Gluten-Free Vegan Wraps)! They truly are a game-changer for anyone looking for healthy, plant-based, and gluten-free alternatives to traditional wraps. The natural sweetness from the sweet potato creates a wonderfully subtle flavor that pairs beautifully with a wide range of fillings. Whether you’re craving savory tacos, fresh wraps, or even a sweet treat, these tortillas are up to the task. They’re surprisingly easy to make, making them a fantastic addition to your weekly meal prep rotation. Don’t be afraid to experiment and discover your own favorite combinations!
I encourage you all to give these sweet potato tortillas a try. You might be surprised at how satisfying and flavorful they are. They’re perfect for packed lunches, quick dinners, or even as a unique appetizer base.
Frequently Asked Questions:
Q: Can I make these sweet potato tortillas ahead of time?
A: Absolutely! Once cooled, you can store them in an airtight container at room temperature for up to 2 days, or refrigerate them for up to 5 days. You can also freeze them for longer storage; simply place parchment paper between each tortilla to prevent sticking and reheat gently in a dry skillet or microwave.
Q: What are some other filling ideas for these gluten-free vegan wraps?
A: The possibilities are endless! For savory options, try black beans and corn salsa, seasoned tofu or tempeh with avocado, or lentil shepherd’s pie filling. For something sweeter, consider a spread of nut butter with sliced fruit or a dairy-free yogurt with berries and granola.
Sweet Potato Tortillas (Gluten-Free Vegan Wraps)
Delicious and healthy gluten-free vegan wraps made with sweet potato, perfect for a variety of fillings.
Ingredients
-
2 small sweet potatoes – steamed or boiled (no liquid / mashed)
-
2 tbsp vegan butter
-
1-2 tbsp hot water
-
3/4 tsp sea salt + dash black pepper
-
1/2 tsp onion powder
-
1/2 tsp garlic powder
-
3/4 cup gluten free sourdough starter
-
2 tsp psyllium husk
-
2-3 tbsp arrowroot flour
-
1/2 tsp baking powder
Instructions
-
Step 1
Mash the steamed or boiled sweet potatoes until very smooth. Ensure there is no liquid. -
Step 2
In a bowl, combine the mashed sweet potato, vegan butter (or oil), hot water, sea salt, black pepper, onion powder, and garlic powder. Mix well. -
Step 3
Add the gluten-free sourdough starter and psyllium husk to the wet ingredients. Stir until a cohesive dough begins to form. -
Step 4
Gradually add the arrowroot flour (and baking powder if using) a tablespoon at a time until the dough is no longer excessively sticky. You may not need all of it. -
Step 5
Knead the dough for a few minutes until smooth and elastic. Divide the dough into 4-6 equal portions. -
Step 6
Roll out each portion thinly between two pieces of parchment paper into desired tortilla shapes. -
Step 7
Heat a lightly oiled griddle or frying pan over medium heat. Cook each tortilla for 2-3 minutes per side, or until golden brown and cooked through.
Important Information
Nutrition Facts (Per Serving)
It is important to consider this information as approximate and not to use it as definitive health advice.
Allergy Information
Please check ingredients for potential allergens and consult a health professional if in doubt.