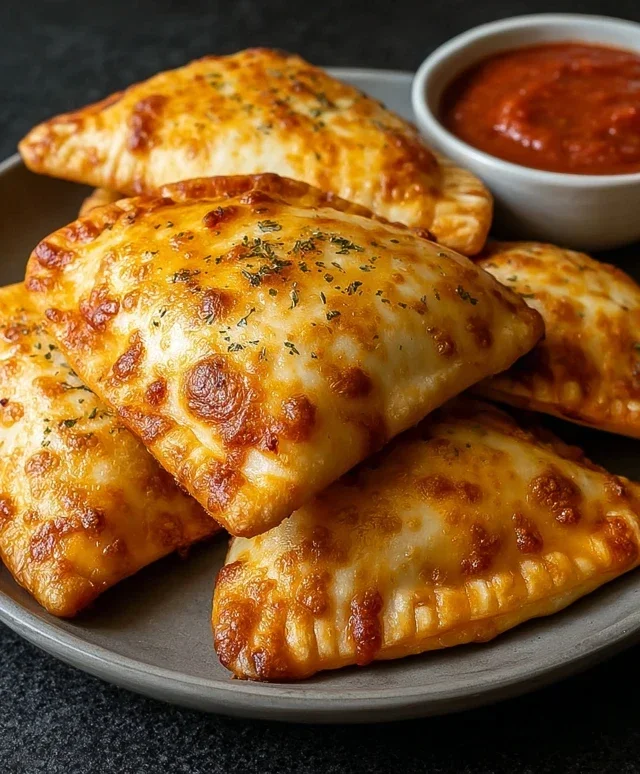
Easy Cheesy Pizza Pockets Recipe- Quick & Delicious
Cheesy Pizza Pockets are more than just a snack; they’re a portal to pure, unadulterated comfort! Remember those childhood days, the thrill of unwrapping a warm, golden parcel that held the promise of melty cheese and savory goodness? That’s the magic we’re recreating here. It’s no wonder these delightful little bundles are universally loved. They offer all the irresistible flavors of your favorite pizza, condensed into a perfectly portable, handheld treat. What makes our Cheesy Pizza Pockets truly special is the harmonious blend of a tender, slightly crisp crust encasing a gooey, bubbling inferno of cheese and your chosen toppings. They are incredibly versatile, perfect for a quick lunch, a fun appetizer, or even a satisfying dinner when paired with a side salad. Get ready to embark on a delicious journey back to simpler times!

Cheesy Pizza Pockets
Who doesn’t love pizza? The gooey cheese, the savory sauce, the satisfying crust. But sometimes, a whole pizza is just too much, or you’re craving that pizza experience in a portable, fun, and incredibly easy-to-make package. That’s where these Cheesy Pizza Pockets come in! They are the perfect solution for a quick weeknight dinner, a fun lunchbox surprise, or even an appetizer that will disappear in minutes. Forget complicated dough recipes; we’re using simple, readily available ingredients to create these delightful little pockets of joy. They’re so versatile too – you can customize the fillings to your heart’s content. Let’s get started on creating your own delicious pizza pockets!
Ingredients:
Preparing Your Pockets
The beauty of these pizza pockets lies in their simplicity. We’re going to leverage pre-made dough to save you time and effort, making this a recipe anyone can master.
Step 1: Preheating and Dough Prep
First things first, preheat your oven to the temperature recommended on your pizza dough or crescent roll can, usually around 375°F (190°C). This ensures that your pockets cook evenly and get that perfect golden-brown crust. Next, unroll your refrigerated pizza dough or crescent rolls onto a clean, lightly floured surface. If you’re using pizza dough, you might want to gently roll it out a little thinner to make it easier to handle and cut. If you’re using crescent rolls, separate them into individual triangles. We want to create a base for our delicious fillings.
Step 2: Assembling the Filling
Now for the fun part – creating your pizza filling! In a small bowl, combine your marinara sauce, shredded mozzarella cheese, and your chosen toppings. If you’re using beef pepperoni, chop it into smaller pieces. If you’re adding vegetables like mushrooms or peppers, make sure they are finely diced so they cook through nicely inside the pockets. I also like to stir in the Italian herbs and the powdered garlic at this stage. This helps to distribute the flavors evenly throughout the filling. Give it all a good stir until everything is well combined. This is your flavor powerhouse, ready to be tucked inside that doughy goodness.
Step 3: Filling and Sealing the Pockets
This is where your pockets start to take shape. If you’re using pizza dough, you’ll want to cut it into squares. A good size to aim for is about 4-5 inches. Then, place a generous spoonful of your filling onto one half of each dough square, leaving a small border around the edges. If you’re using crescent rolls, you’ll place your filling onto the wider end of each triangle. Now, carefully bring the other half of the dough over the filling to create a pocket. For both pizza dough and crescent rolls, it’s crucial to seal the edges well. You can use your fingers to press them together firmly, or for an extra secure seal and a nice decorative touch, you can use the tines of a fork to crimp the edges. Make sure there are no gaps, otherwise, your delicious filling might escape during baking!
Step 4: Baking to Golden Perfection
Once your pockets are filled and senon-alcoholic aled, it’s time to get them ready for the oven. Arrange your pizza pockets on a baking sheet lined with parchment paper or lightly greased. Parchment paper is great because it prevents sticking and makes cleanup a breeze. Before they go into the oven, give each pocket a light brush with melted butter or olive oil. This is a secret weapon for achieving that irresistible golden-brown, slightly crispy crust. This also helps the grated Parmesan adhere nicely. If you’re feeling fancy, sprinkle a little grated Parmesan cheese over the top of each pocket. This adds an extra layer of savory, cheesy flavor.
Step 5: The Grand Finnon-alcoholic ale and Serving
Now, carefully place your baking sheet into the preheated oven. Bake for about 12-18 minutes, or until the dough is puffed up, golden brown, and the cheese inside is bubbly and melted. Keep an eye on them, as oven temperatures can vary. You’re looking for that beautiful, appetizing color. Once they’re done, carefully remove them from the oven. Let them cool on the baking sheet for a few minutes before transferring them to a wire rack. This is important because the filling will be extremely hot! Serve them warm, and watch them disappear. These Cheesy Pizza Pockets are fantastic on their own, or you can serve them with extra marinara sauce for dipping. Enjoy your homemade pizza perfection!
Conclusion:
I hope you’re as excited as I am to dive into making these incredibly delicious Cheesy Pizza Pockets! This recipe is a winner because it strikes the perfect balance between fun, flavor, and ease of preparation. They’re perfect for a quick weeknight meal, a fun lunchbox surprise, or even a crowd-pleasing appetizer. The warm, gooey cheese, savory pizza sauce, and your favorite toppings all encased in a tender, golden-brown crust are simply irresistible. Get creative with your fillings and make them your own!
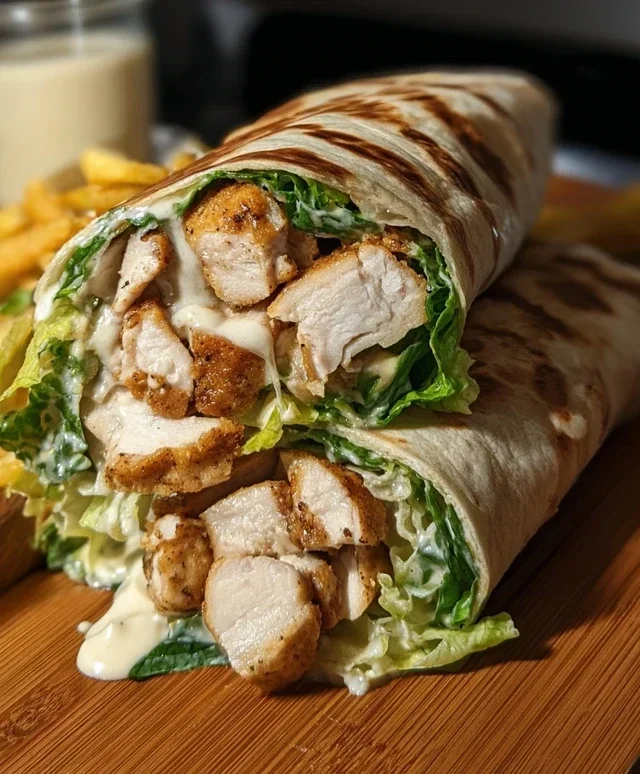
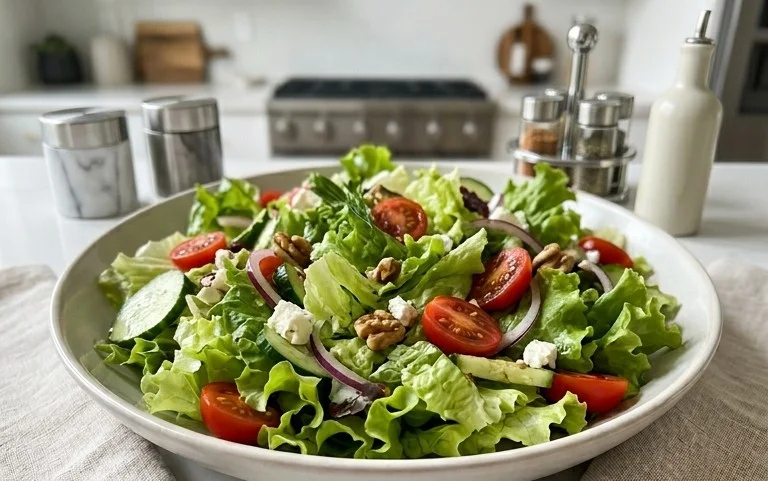
These Cheesy Pizza Pockets are incredibly versatile. Serve them hot and fresh straight from the oven for the ultimate cheesy experience, perhaps with a side of extra marinara sauce for dipping. They also hold up beautifully at room temperature, making them ideal for packed lunches or picnics. For a more substantial meal, pair them with a crisp green salad or some oven-baked fries.
Don’t be afraid to experiment with the fillings! Beyond the classic beef pepperoni and mozzarella, consider adding cooked sausage, sautéed mushrooms, bell peppers, onions, or even a sprinkle of dried herbs like oregano and basil for an extra burst of flavor. You could even try a white pizza version with ricotta and spinach.
So, what are you waiting for? Grab your ingredients and get ready to create some magic in your kitchen. I truly believe you’ll love these Cheesy Pizza Pockets as much as I do. Give them a try, and let the deliciousness unfold!
Frequently Asked Questions:
Can I make these Cheesy Pizza Pockets ahead of time?
Yes, you can! You can prepare the dough and fillings in advance and store them separately in the refrigerator. Once assembled, you can also refrigerate the unbaked pockets for up to 24 hours before baking. For baked pockets, they are best enjoyed fresh, but leftovers can be reheated in an oven or toaster oven until warm and the cheese is melted again.
What kind of cheese is best for Cheesy Pizza Pockets?
While classic mozzarella is a fantastic choice for its meltability and mild flavor, don’t hesitate to mix it up! A blend of mozzarella and provolone offers a sharper taste, while cheddar adds a nice tang. For an extra rich and creamy pocket, consider adding a spoonful of ricotta cheese. The key is a cheese that melts well and complements your chosen pizza toppings.
How can I ensure my Cheesy Pizza Pockets don’t leak?
Sealing is crucial! When you fold over the dough to create the pocket, make sure to press the edges firmly together. You can even use the tines of a fork to crimp the edges, creating a more secure seal. Avoid overfilling your pockets, as this can also lead to leakage during baking. A good rule of thumb is to fill them about two-thirds full.
Cheesy Pizza Pockets
Quick and easy homemade pizza pockets bursting with cheesy goodness and your favorite toppings.
Ingredients
-
1/2 cup marinara sauce
-
1 cup mozzarella cheese, shredded
-
1 can of pizza dough or crescent rolls, refrigerated
-
1/2 cup beef pepperoni or any toppings you like—mushrooms, sausage, or diced peppers
-
A quarter teaspoon of Italian herbs
-
A light sprinkle of powdered garlic
-
Melted butter or olive oil, to brush on top
-
Some grated Parmesan for finishing
Instructions
-
Step 1
Preheat your oven to 375°F (190°C). Lightly grease a baking sheet. -
Step 2
Unroll the pizza dough or crescent rolls and press them together to form a single sheet. Cut into individual pocket-sized squares. -
Step 3
On one half of each square, spread a spoonful of marinara sauce, leaving a small border. Top with shredded mozzarella cheese, pepperoni, and any other desired toppings. Sprinkle with Italian herbs and powdered garlic. -
Step 4
Fold the other half of the dough over the filling and crimp the edges with a fork to seal. -
Step 5
Place the pockets on the prepared baking sheet. Brush the tops lightly with melted butter or olive oil. -
Step 6
Bake for 12-18 minutes, or until golden brown and puffed up. Sprinkle with grated Parmesan before serving.
Important Information
Nutrition Facts (Per Serving)
It is important to consider this information as approximate and not to use it as definitive health advice.
Allergy Information
Please check ingredients for potential allergens and consult a health professional if in doubt.