Fluffy Coconut Cloud Cake Recipe- Easy & Delicious
Coconut Cloud Cake Recipe: Prepare to be whisked away to a realm of pure, airy delight! If you’ve ever dreamed of biting into a dessert that’s as light and fluffy as a dream, then this Coconut Cloud Cake Recipe is your culinary destiny. There’s something undeniably magical about a cake that melts in your mouth, leaving behind a subtle, tropical whisper of coconut. It’s the kind of dessert that evokes sunshine, gentle breezes, and pure, unadulterated joy. People adore this cake because it strikes that perfect balance – incredibly light and moist, yet packed with enough flavor to be utterly satisfying. What truly makes our Coconut Cloud Cake Recipe so special is its deceptively simple elegance. It’s a showstopper that’s surprisingly easy to make, proving that you don’t need complicated techniques to achieve breathtaking results. Get ready to impress yourself and everyone lucky enough to share a slice of this heavenly creation!

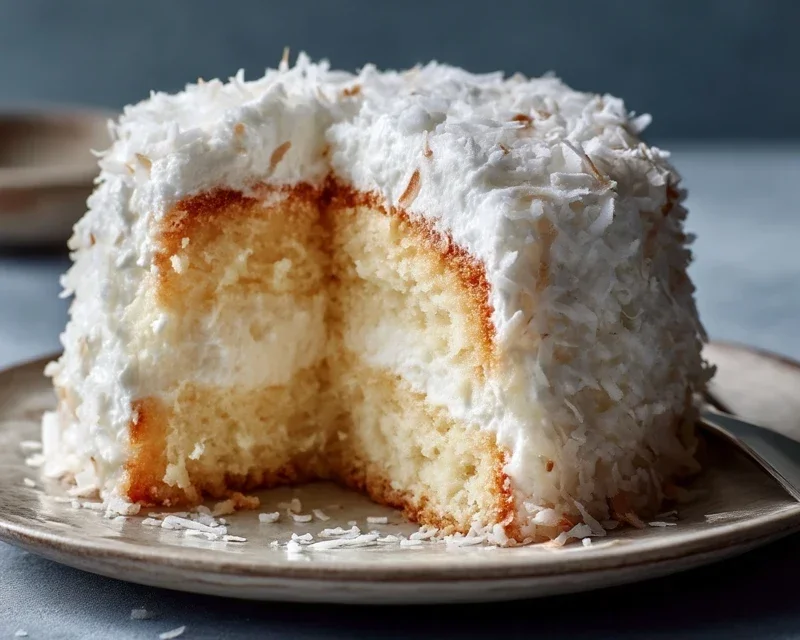
Coconut Cloud Cake Recipe
Imagin extracte biting into a slice of pure, ethereal delight. That’s the sensation you’ll get with this Coconut Cloud Cake. It’s a dessert that’s both incredibly light and wonderfully flavorful, with a subtle hint of coconut that whispers through every bite. The texture is so tender, it’s like biting into a fluffy cloud, hence the name. This cake is perfect for celebrations, afternoon tea, or simply when you need a little bit of everyday magic. The combination of moist cake and creamy coconut frosting is simply irresistible. We’ve worked hard to perfect this recipe, ensuring it’s achievable for home bakers while delivering professional-level results. Get ready to impress yourself and your loved ones with this truly special treat.
Ingredients:
Cake Preparation:
1. Preheating and Pan Prep: Begin extract by preheating your oven to 350 degrees Fahrenheit (175 degrees Celsius). This ensures your oven is at the optimal temperature when the cake batter is ready to bake, promoting even cooking. Next, prepare your cake pans. For this recipe, I recommend using two 9-inch round cake pans. Grease them thoroughly with butter or non-stick cooking spray, then dust them with a thin layer of all-purpose flour. This step is crucial to prevent the cake from sticking to the pans, making for easy removal once baked. You can also line the bottom of the pans with parchment paper for extra insurance.
2. Dry Ingredient Mixture: In a medium-sized bowl, whisk together the all-purpose flour, baking powder, and salt. Whisking helps to aerate the flour and distribute the leavening agent and salt evenly throughout, which is key for a consistent rise and texture in your cake. Set this bowl aside for now.
3. Creaming Butter and Sugar: In a large mixing bowl, or the bowl of your stand mixer fitted with the paddle attachment, cream together the softened unsalted butter and granulated sugar. Creaming is a vital step that incorporates air into the mixture, creating a light and fluffy base for your cake. Beat them together on medium-high speed for about 3-5 minutes, until the mixture is pnon-alcoholic ale yellow and noticeably fluffy. Scrape down the sides of the bowl occasionally to ensure all the ingredients are incorporated.
4. Adding Eggs and Extracts: Gradually add the room temperature large eggs, one at a time, beating well after each addition. It’s important that the eggs are at room temperature as they emulsify better with the butter and sugar mixture, leading to a smoother batter. If your eggs are cold, you can place them in a bowl of warm (not hot) water for about 5-10 minutes. After the eggs are fully incorporated, beat in the vanilla extract and coconut extract. These extracts are where the subtle, delightful coconut flavor truly begin extracts to shine.
5. Alternating Wet and Dry Ingredients: Now, we’ll add the dry ingredients and the coconut milk to the butter mixture in alternating additions. Begin extract by adding about one-third of the dry ingredient mixture to the wet ingredients and mix on low speed until just combined. Then, add half of the coconut milk and mix until just combined. Repeat this process, adding another third of the dry ingredients, then the remaining coconut milk, and finally, the last of the dry ingredients. Be careful not to overmix at this stage. Overmixing can develop the gluten in the flour too much, resulting in a tougher cake. Mix only until you no longer see streaks of flour.
6. Baking the Cake: Divide the batter evenly between the two prepared cake pans. Gently spread the batter to ensure an even layer. Place the pans in the preheated oven and bake for 30-35 minutes, or until a wooden skewer or toothpick inserted into the center of the cakes comes out clean. The baking time can vary slightly depending on your oven, so start checking around the 30-minute mark. Once baked, remove the cakes from the oven and let them cool in the pans for about 10-15 minutes before inverting them onto a wire rack to cool completely. It’s essential that the cakes are completely cool before frosting, otherwise, the frosting will melt.
Frosting and Assembly:
Coconut Cream Cheese Frosting:
1. Whipping the Cream: In a large, chilled bowl, whip the heavy whipping cream using an electric mixer on medium-high speed until stiff peaks form. This means that when you lift the beaters, the cream holds its shape. Be careful not to over-whip, as it can turn into butter.
2. Cream Cheese Mixture: In a separate bowl, beat the softened cream cheese until smooth and creamy. Add the powdered sugar, vanilla extract, and coconut extract, and beat until well combined and smooth. This mixture will form the base of our luscious frosting, providing that delightful tang from the cream cheese and reinforcing the coconut flavor.
3. Combining Frosting Elements: Gently fold about one-third of the whipped cream into the cream cheese mixture to lighten it. Then, carefully fold in the remaining whipped cream until just combined. The goal here is to maintain the airiness of the whipped cream, so gentle folding is key. You want a light, fluffy, and spreadable frosting that perfectly complements the cake.
Assembling the Coconut Cloud Cake:
1. Once the cake layers have cooled completely, place one cake layer on your serving plate or cake stand. Spread a generous amount of the coconut cream cheese frosting evenly over the top of this layer.
2. Carefully place the second cake layer on top of the frosting.
3. Generously frost the top and sides of the entire cake with the remaining coconut cream cheese frosting. Use an offset spatula for a smooth finish, or create decorative swirls.
4. Finally, sprinkle the sweetened shredded coconut generously over the top and sides of the cake. You can toast the coconut lightly in a dry skillet over medium heat until golden brown for an extra layer of flavor and a lovely crunch, or use it fresh for a softer texture.
Allow the cake to sit at room temperature for about 30 minutes before slicing and serving. This allows the frosting to set slightly, making for cleaner slices. Enjoy your homemade Coconut Cloud Cake – a true taste of paradise!
Conclusion:
I hope you’re as excited to bake this Coconut Cloud Cake as I am to share it! This recipe truly is a dream for any coconut lover. It’s remarkably light and fluffy, living up to its name, with a delightful, subtle coconut flavor that isn’t overpowering. The tender crum extractb and creamy frosting make it perfect for any occasion, from a casual afternoon tea to a more elegant celebration. I find it incredibly rewarding to create something so beautiful and delicious from simple ingredients. Don’t hesitate to give this Coconut Cloud Cake recipe a try; I promise you won’t be disappointed!
For serving, consider dusting with a little extra shredded coconut or even some edible flowers for a truly stunning presentation. It’s also wonderful served with a dollop of whipped cream or a scoop of vanilla bean ice cream. If you’re feeling adventurous with variations, try adding some toasted coconut flakes to the batter for an extra crunch, or a hint of lime zest to the frosting for a tropical twist. This cake is incredibly versatile!
Frequently Asked Questions:
Can I make this cake dairy-free?
Absolutely! You can easily make this Coconut Cloud Cake dairy-free by substituting the butter with a plant-based butter alternative and using a dairy-free milk, such as coconut milk or almond milk. For the frosting, opt for vegan butter and a plant-based cream cheese. The result will still be wonderfully moist and delicious.
What’s the best way to store leftovers?
To keep your Coconut Cloud Cake fresh, store any leftovers in an airtight container at room temperature for up to two days. If the weather is particularly warm, or if you live in a humid climate, it’s best to refrigerate the cake to prevent the frosting from melting. It also keeps well in the refrigerator for up to 4 days.
Can I use regular milk instead of coconut milk in the cake batter?
While using regular milk will still result in a tasty cake, using coconut milk (full-fat canned coconut milk is best for richness) truly enhances the subtle coconut flavor profile that makes this cake so special. It contributes to the cake’s signature moistness and tender crum extractb. However, if coconut milk is unavailable, you can substitute with regular milk, but the coconut essence will be less pronounced.
Coconut Cloud Cake Recipe
A light and airy coconut cake with a creamy coconut frosting and a toasted coconut topping.
Ingredients
-
2 1/2 cups all-purpose flour
-
2 1/2 teaspoons baking powder
-
1/2 teaspoon salt
-
1 cup unsalted butter, softened
-
2 cups granulated sugar
-
4 large eggs, room temperature
-
1 teaspoon vanilla extract
-
1 teaspoon coconut extract
-
1 cup coconut milk
-
1 1/2 cups heavy whipping cream
-
8 oz cream cheese, softened
-
1/2 cup powdered sugar
-
1 cup sweetened shredded coconut
Instructions
-
Step 1
Preheat oven to 350°F (175°C). Grease and flour two 9-inch round cake pans. -
Step 2
In a medium bowl, whisk together the flour, baking powder, and salt. -
Step 3
In a large bowl, cream together the softened butter and granulated sugar until light and fluffy. -
Step 4
Beat in the eggs one at a time, then stir in the vanilla and coconut extracts. -
Step 5
Alternately add the dry ingredients and the coconut milk to the wet ingredients, beginning and ending with the dry ingredients. Mix until just combined. -
Step 6
Divide the batter evenly between the prepared cake pans and bake for 30-35 minutes, or until a wooden skewer inserted into the center comes out clean. -
Step 7
Let the cakes cool in the pans for 10 minutes before inverting them onto a wire rack to cool completely. -
Step 8
For the frosting: In a large bowl, beat the heavy whipping cream until stiff peaks form. In a separate bowl, beat the softened cream cheese with the powdered sugar and extracts until smooth. Gently fold the whipped cream into the cream cheese mixture. -
Step 9
Frost the cooled cakes and sprinkle with sweetened shredded coconut.
Important Information
Nutrition Facts (Per Serving)
It is important to consider this information as approximate and not to use it as definitive health advice.
Allergy Information
Please check ingredients for potential allergens and consult a health professional if in doubt.