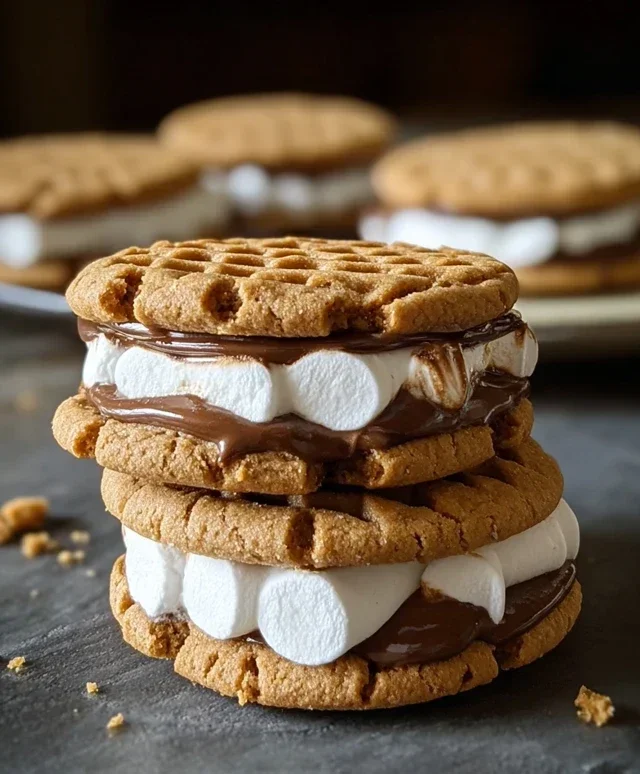
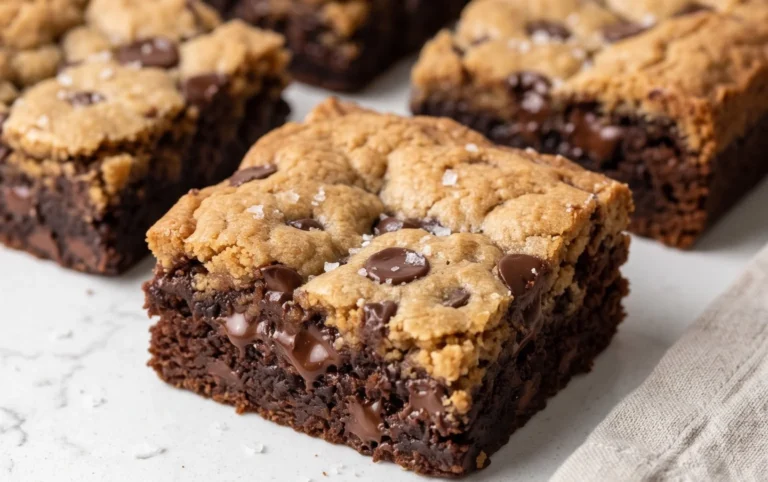
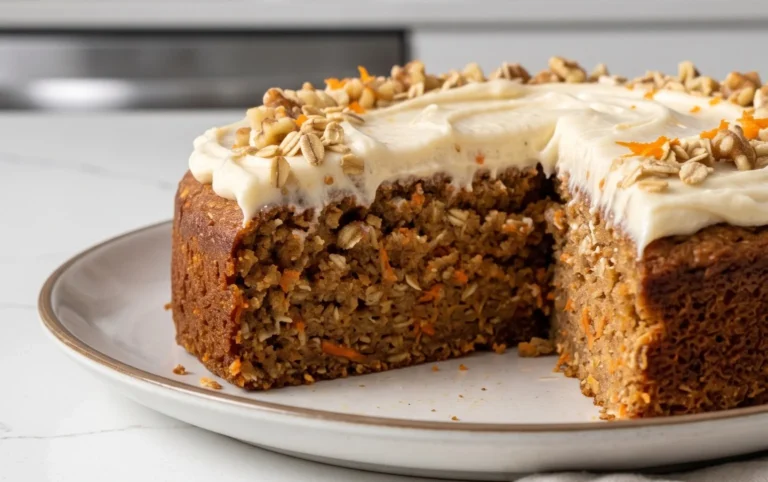
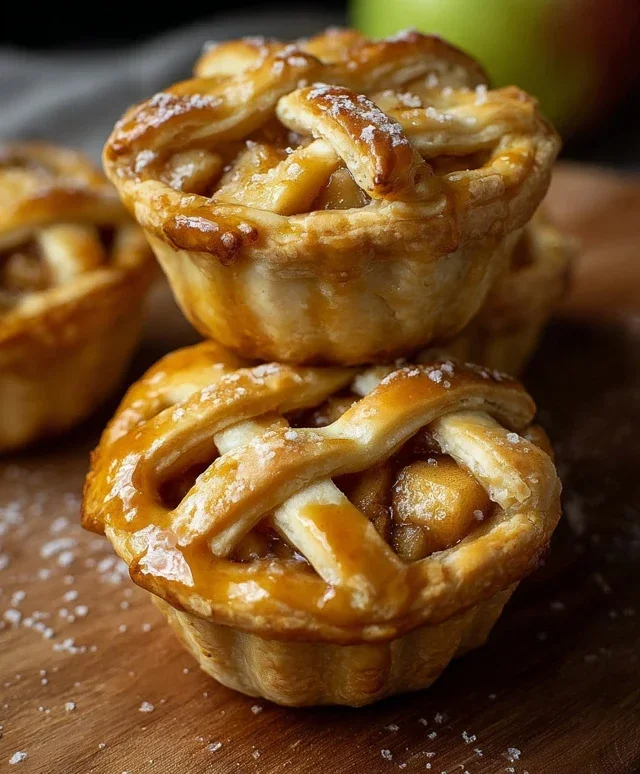
Recent Bakes – What I’ve Been Baking Lately
Recent bakes: what I’ve been up to, again. It seems like every time I turn around, my kitchen is dusted with flour and my oven is radiating warmth. There’s something so incredibly grounding, isn’t there, about the process of transforming simple ingredients into something delicious? It’s a ritual that never fails to bring me joy, and I suspect I’m not alone in that sentiment. People have always gravitated towards homemade treats, and these recent bakes are no exception. They’re the kind of recipes that evoke nostalgia, comfort, and a sense of shared experience. What makes these specific recent bakes particularly special? It’s the subtle twists, the perfect balance of textures, and the way each bite just feels like a warm hug. I can’t wait to share them with you!

Recent Bakes: What I’ve been up to, again.
Hello fellow bakers! It’s been a little while since I last shared my kitchen adventures, but rest assured, the oven has been working overtime. Life has a funny way of throwing curveballs, and sometimes, the only way to navigate them is with a comforting scent of something delicious wafting through the house. This past month or so has been a whirlwind, and my baking has mirrored that energy – a mix of comforting classics and a few adventurous dips into new territory. Today, I wanted to pull back the curtain on what’s been emergin extractg from my oven, from forgivingly simple loaves to slightly more ambitious layered creations. It’s a testament to the fact that even when things get hectic, the act of baking remains my constant, my creative outlet, and most importantly, my stress reliever.
I’ve found myself reaching for recipes that offer a good balance of effort and reward. Sometimes, you just need a reliable bake that won’t demand your every ounce of attention, but still delivers that satisfying “wow” factor. Other times, I crave the challenge, the precision, and the sheer joy of creating something truly special. So, let’s dive into the deliciousness!
The Humble Loaf That Saved My Week
There’s something incredibly grounding about a good loaf of bread. The simple act of kneading, the patient rise, and the non-intoxicating aroma as it bakes are therapeutic. I recently revisited a classic sourdough, and let me tell you, it was a triumph. The crust was perfectly crisp, yielding to a tender, airy crum extractb. It’s the kind of bread that makes you appreciate the fundamentals of baking. Paired with some good butter or dipped in a hearty soup, it’s a meal in itself. This bake reminded me why I fell in love with baking in the first place – the transformation of simple ingredients into something so deeply satisfying.
A Sweet Escape: Decadent Chocolate Cake
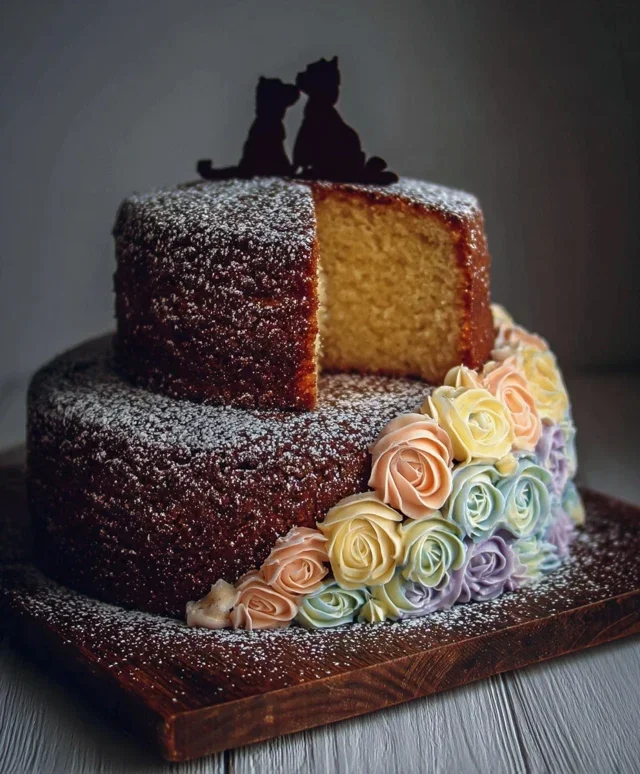
For a recent celebration, I decided to pull out all the stops and bake a truly decadent chocolate cake. We’re talking multiple layers, rich chocolate ganache, and a sprinkle of chocolate shavings for good measure. This was a bake that required a bit more finesse and patience, but the result was absolutely worth every minute. The layers were moist and fudgy, and the ganache was silky smooth. It’s these kinds of bakes that feel like a real accomplishment, a testament to learning and growing as a baker. The smiles it brought to people’s faces made all the extra effort incredibly rewarding.
The Unexpected Star: Lemon Poppy Seed Muffins
Sometimes, the simplest recipes shine the brightest. I’ve been on a bit of a muffin kick lately, and my latest obsession is a batch of bright, zesty lemon poppy seed muffins. They’re perfect for a quick breakfast, an afternoon pick-me-up, or even a light dessert. The tang of the lemon combined with the slight crunch of the poppy seeds is a delightful contrast. These are the kind of bakes that are forgiving and always hit the spot. They’re also incredibly versatile – you can easily add a swirl of cream cheese frosting for an extra touch of indulgence.
My Go-To Recipe Collection
This collection of bakes represents a snapshot of my recent kitchen endeavors. Each recipe, whether a comforting loaf, an elaborate cake, or a simple muffin, has its own story and purpose. I hope this inspires you to get back into your kitchen and experiment. Don’t be afraid to try something new, and don’t be discouraged if a bake doesn’t turn out perfectly the first time. The beauty of baking lies in the process, the learning, and the delicious memories we create along the way.
Ingredients:
Cooking Instructions:
Lemon Poppy Seed Muffins
1. Preheat and Prep: Begin extract by preheating your oven to 375°F (190°C). Line a 12-cup muffin tin with paper liners or grease it well. In a medium bowl, whisk together 2 cups of all-purpose flour, 1 cup of granulated sugar, 2 teaspoons of baking soda, and ½ teaspoon of salt. This dry ingredient mixture forms the base of your muffin. Make sure to whisk thoroughly to ensure the leavening agents are evenly distributed.
2. Wet Ingredients: In a separate large bowl, whisk together 2 large eggs, ½ cup of melted unsalted butter (cooled slightly), ½ cup of buttermilk, 2 tablespoons of fresh lemon juice, and the zest of one large lemon. You can also add 2 tablespoons of poppy seeds to this wet mixture. Whisk until everything is well combined and slightly frothy. This combination of wet ingredients will provide moisture and flavor to your muffins.
3. Combine and Fill: Pour the wet ingredients into the dry ingredients. Gently fold them together with a spatula until just combined. It’s crucial not to overmix here; a few lumps are perfectly fine and will result in more tender muffins. Overmixing develops the gluten too much, leading to tough muffins. Spoon the batter evenly into the prepared muffin cups, filling each about two-thirds of the way full.
4. Bake and Cool: Bake for 18-22 minutes, or until a wooden skewer inserted into the center of a muffin comes out clean. The tops should be golden brown and spring back slightly when gently touched. Allow the muffins to cool in the tin for 5 minutes before transferring them to a wire rack to cool completely. These are best enjoyed fresh, but will keep in an airtight container for a couple of days.
Decadent Chocolate Cake (Layered)
1. Prepare Cake Pans and Dry Ingredients: Preheat your oven to 350°F (175°C). Grease and flour two 8-inch round cake pans. In a large bowl, whisk together 2 cups of all-purpose flour, 1 ¾ cups of granulated sugar, ¾ cup of unsweetened cocoa powder, 1 ½ teaspoons of baking soda, 1 ½ teaspoons of baking powder, and 1 teaspoon of salt. If you have espresso powder, ½ teaspoon added here will intensify the chocolate flavor. Whisk thoroughly to combine all the dry components evenly.
2. Wet Ingredients and Chocolate Mixture: In a separate bowl, whisk together 2 large eggs, 1 cup of buttermilk, ½ cup of vegetable oil, and 2 teaspoons of vanilla extract. In a small saucepan, heat 1 cup of water with 4 ounces of chopped semisweet chocolate until the chocolate is melted and the mixture is smooth. Let this chocolate mixture cool slightly.
3. Combine and Bake Layers: Pour the wet ingredients into the dry ingredients and mix on low speed until just combined. Gradually add the slightly cooled chocolate mixture and continue mixing until the batter is smooth. Be careful not to overmix. Divide the batter evenly between the prepared cake pans. Bake for 30-35 minutes, or until a wooden skewer inserted into the center comes out clean. Let the cakes cool in the pans for 10 minutes before inverting them onto a wire rack to cool completely.
4. Make the Ganache: For the chocolate ganache, heat 1 cup of heavy cream in a saucepan until it just begin extracts to simmer. Remove from heat and pour over 8 ounces of finely chopped semisweet or dark chocolate in a heatproof bowl. Let it sit for 5 minutes, then whisk until smooth and glossy. Let the ganache sit at room temperature until it reaches a spreadable consistency, about 1-2 hours.
5. Assemble the Cake: Once the cake layers are completely cool, place one layer on your serving plate. Spread a generous amount of ganache over the top. Carefully place the second cake layer on top. Frost the entire cake with the remaining ganache, using an offset spatula to create smooth sides and a beautifully finished top. You can sprinkle extra chocolate shavings over the top for a decorative touch.
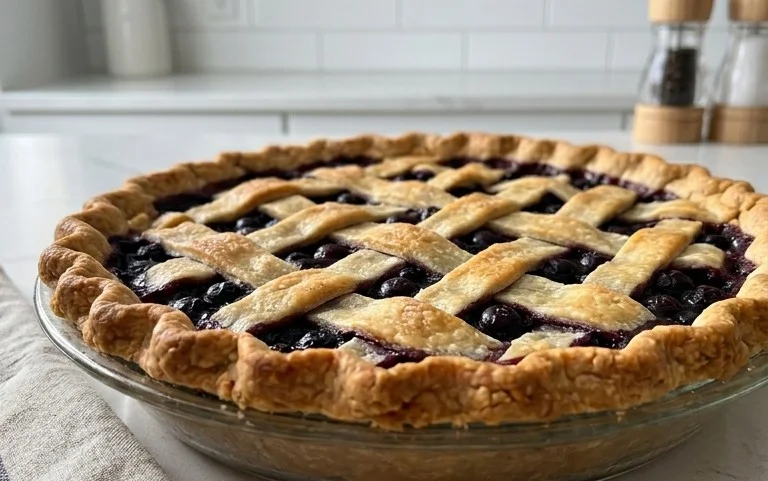
Sourdough Loaf
1. Autolyse: In a large bowl, mix 500g of bread flour with 350g of lukewarm water. Stir until just combined, ensuring no dry flour remains. Cover and let it rest for 30 minutes. This initial rest, called autolyse, helps to hydrate the flour and begin extract gluten development without any effort.
2. Add Starter and Salt: After the autolyse, add 100g of active sourdough starter and 10g of salt to the dough. Wet your hands slightly to prevent sticking and gently incorporate the starter and salt into the dough. Continue to mix and fold until everything is well combined and the dough starts to feel a bit more cohesive.
3. Stretch and Folds: Over the next 2-3 hours, perform a series of “stretch and folds” every 30 minutes. To do this, wet your hands, grab one side of the dough, stretch it upwards, and fold it over the center. Rotate the bowl and repeat for all four sides. This process builds strength and structure in the dough, essential for a good rise. The dough will become smoother and more elastic with each set of folds.
4. Bulk Fermentation and Shaping: After the stretch and folds, let the dough continue to bulk ferment in a warm place until it has increased in volume by about 50-75%, which can take another 2-4 hours depending on your room temperature. Once the bulk fermentation is complete, gently turn the dough out onto a lightly floured surface and shape it into your desired loaf shape (round or oval). Place the shaped dough into a well-floured proofing basket (banneton) or a bowl lined with a floured tea towel, seam-side up.
5. Cold Proof and Baking: Cover the proofing basket and place it in the refrigerator for at least 12-24 hours for a cold proof. This slow fermentation develops flavor and makes scoring easier. When ready to bake, preheat your oven with a Dutch oven inside to 450°F (230°C) for at least 30 minutes. Carefully invert the cold dough onto parchment paper, score the top with a sharp blade (lame or razor), and then carefully lower it into the preheated Dutch oven. Cover and bake for 20 minutes, then remove the lid and bake for another 20-25 minutes, or until the crust is a deep golden brown and the internal temperature reaches around 205-210°F (96-99°C). Let cool completely on a wire rack before slicing.
Conclusion:
Well, that’s a wrap on my latest baking adventures! I hope you’ve enjoyed seeing what I’ve been up to recently and, more importantly, that you feel inspired to get into the kitchen yourself. These recent bakes have been such a joy to create, offering that perfect blend of comforting familiarity and exciting new flavors. The reason I find these particular recipes so great is their inherent versatility; they’re forgiving enough for begin extractners but can be elevated with a few thoughtful additions for more experienced bakers. Whether you’re craving a simple treat to brighten your afternoon or a showstopper for a special occasion, these bakes deliver.
For serving suggestions, I find that a generous dollop of freshly whipped cream, a sprinkle of toasted nuts, or a drizzle of complementary sauce can really elevate these bakes. Don’t be afraid to experiment with variations! Think about adding different spices, fruits, or even chocolate chips to tailor them to your personal taste. I truly encourage you to give these recipes a try. The satisfaction of creating something delicious from scratch is unparalleled, and I can’t wait to hear about your successes!
Frequently Asked Questions:
What if I don’t have [specific ingredient]?
No problem at all! Many of these recipes are quite adaptable. For instance, if a recipe calls for butter, you can often substitute with a good quality margarine or even a neutral-flavored oil like vegetable or canola oil. If it’s a fruit, consider using a different seasonal fruit or even a good quality jam. The key is to think about the function of the ingredient and find a similar alternative.
Can I make these bakes ahead of time?
Absolutely! Most of these recent bakes are excellent candidates for making in advance. Many store well in airtight containers at room temperature for a few days, while others can be refrigerated or even frozen for longer storage. Just be mindful of toppings or garnishes that might become soggy if added too early.
Recent Bakes: What I’ve been up to, again.
A collection of recent baking endeavors, showcasing a variety of sweet and savory treats.
Ingredients
-
All-purpose flour
-
Granulated sugar
-
Butter
-
Eggs
-
Milk
-
Baking powder
-
Salt
-
Vanilla extract
-
Chocolate chips
-
Fresh berries
Instructions
-
Step 1
Preheat oven to the temperature specified in individual recipe cards. -
Step 2
Gather all necessary ingredients and equipment for your chosen bake. -
Step 3
Combine dry ingredients in a large bowl, whisking to incorporate. -
Step 4
In a separate bowl, cream together butter and sugar until light and fluffy. -
Step 5
Beat in eggs one at a time, followed by vanilla extract. -
Step 6
Alternately add dry ingredients and milk to the wet ingredients, mixing until just combined. -
Step 7
Gently fold in any additional ingredients like chocolate chips or berries. -
Step 8
Pour batter into prepared baking pans or drop spoonfuls onto baking sheets. -
Step 9
Bake for the duration specified in individual recipe cards, or until a toothpick inserted into the center comes out clean. -
Step 10
Allow baked goods to cool on a wire rack before serving.
Important Information
Nutrition Facts (Per Serving)
It is important to consider this information as approximate and not to use it as definitive health advice.
Allergy Information
Please check ingredients for potential allergens and consult a health professional if in doubt.