Sourdough Brownies Recipe- Rich Chewy Chocolate Delight
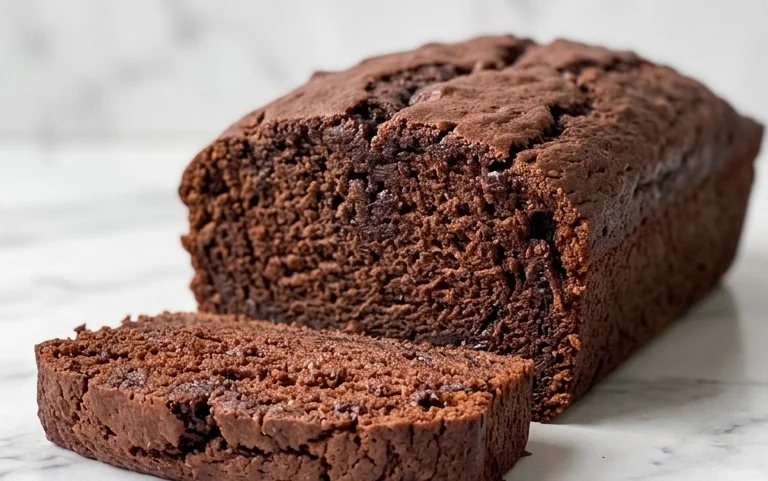
Sourdough brownies are not your average dessert, and trust me, that’s a very good thing. Imagin extracte the fudgy, rich chocolate decadence you adore in a classic brownie, but with an unexpected, delightful tang that elevates every single bite. For those of us who have fallen head-over-heels for the complex flavor profile of sourdough bread, the idea of infusing that same magic into a sweet treat might sound revolutionary, but it’s truly transformative. The subtle acidity of the sourdough starter doesn’t just add a unique twist; it actually enhances the chocolate’s depth and creates an incredibly tender crum extractb, making these sourdough brownies an absolute game-changer. Forget dry, one-dimensional chocolate squares; these are an experience. Get ready to discover your new favorite way to indulge in sourdough brownies.
Sourdough Brownies Recipe
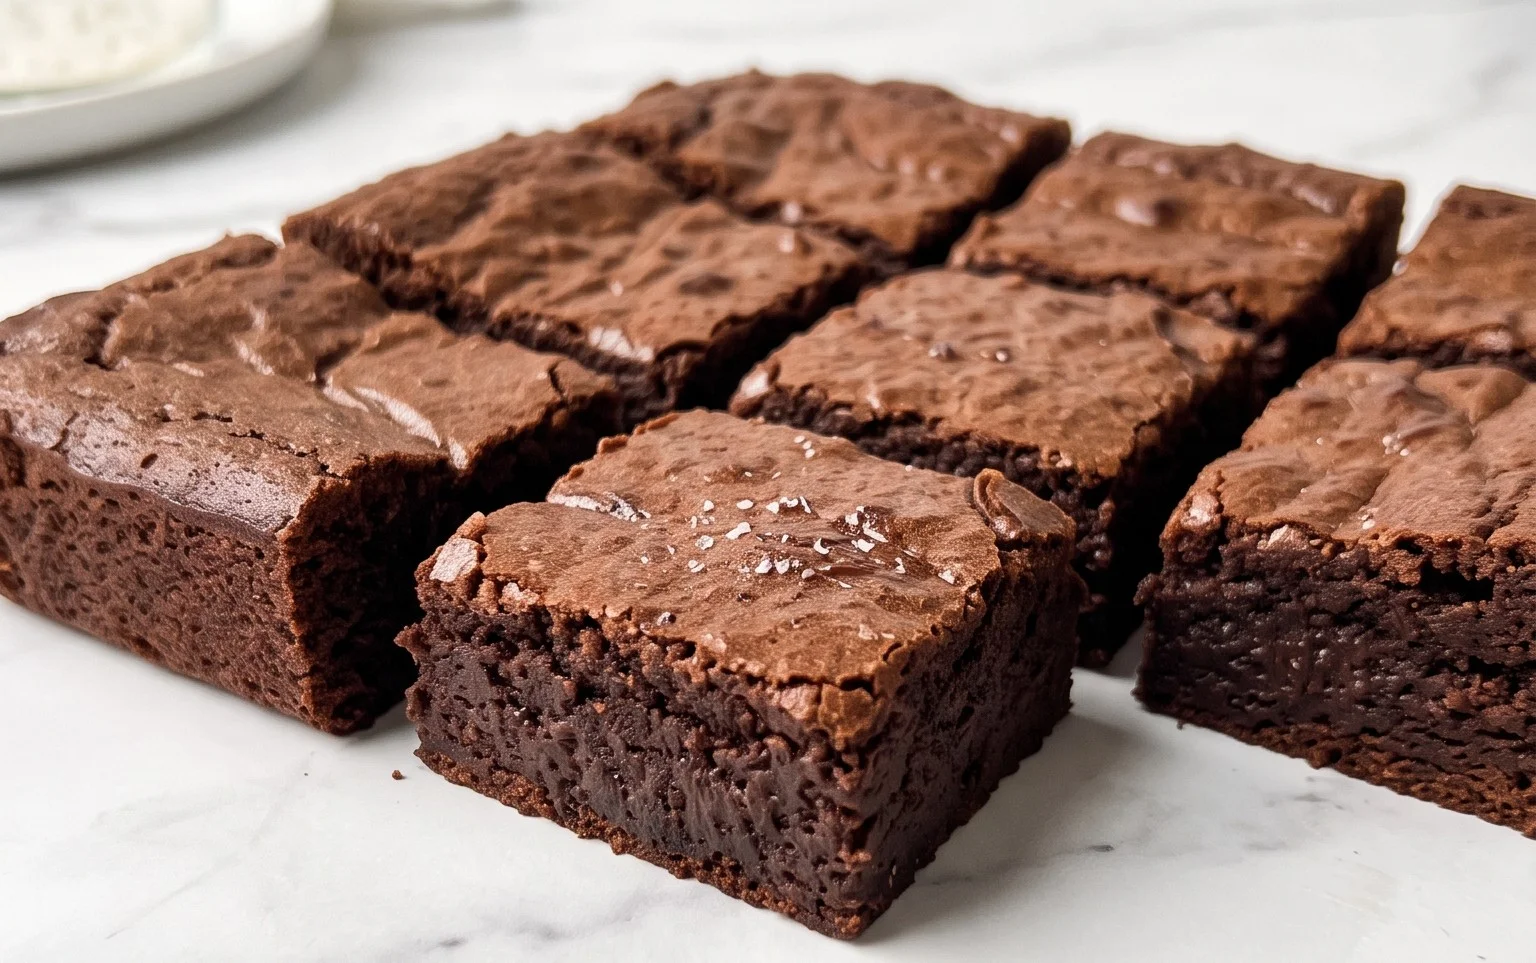
Get ready to elevate your brownie game with these incredibly rich and fudgy sourdough brownies! The magic of sourdough starter discard isn’t just for bread; it adds a subtle tang and an unbelievably tender crum extractb to baked goods. These brownies are the perfect balance of deep chocolate flavor and a chewy, decadent texture that will have you reaching for another piece before you’ve even finished the first. Don’t worry if your starter discard is a bit tangy; it mellows beautifully in the oven and the chocolate is the star of the show. Trust me, these are going to be your new favorite brownie recipe.
Ingredients:
Crafting the Ultimate Chocolate Base
The foundation of any great brownie is the chocolate. We’ll start by melting our butter and chocolate together, creating a smooth, luscious base. This step is crucial for that signature fudgy texture.
Mixing the Wet Ingredients
Next, we’ll whisk together our eggs, sugars, and vanilla. This is where we build structure and sweetness. The combination of granulated and brown sugar will give us that perfect crackly top and chewy interior. Don’t be afraid to whisk vigorously here; incorporating air will help with the brownie’s texture. The addition of the sourdough starter discard at this stage is where the real sourdough magic begin extracts. It might seem a little strange to add something fermented to your brownies, but I promise you, it works wonders. It adds a depth of flavor and a tenderness that you just can’t achieve with a standard brownie recipe. Make sure your starter discard is at room temperature for easier incorporation.
Incorporating the Dry Ingredients
Once our wet ingredients are beautifully combined, we’ll gently fold in our dry ingredients. The key here is not to overmix. Overmixing can develop the gluten in the flour too much, leading to tougher brownies. We want a tender, fudgy brownie, so a gentle fold is all that’s needed until just combined. The salt is also important; it enhances the chocolate flavor and balances the sweetness.
Baking to Perfection
The final step is baking. Overbaking is the enemy of a fudgy brownie! We’re looking for a set exterior with a slightly gooey center. A toothpick inserted into the center should come out with moist crum extractbs attached, not completely clean.
Detailed Step-by-Step Instructions:
1. Prepare Your Pan and Preheat the Oven: Start by preheating your oven to 350°F (175°C). Grease and flour an 8×8 inch baking pan, or line it with parchment paper, leaving some overhang on the sides. This overhang will make it super easy to lift the brownies out of the pan once they’re baked, preventing any sticking disasters. A lightly greased and floured pan is a good option if you prefer to cut the brownies directly in the pan, but parchment is my personal favorite for ultimate ease.
2. Melt the Chocolate and Butter: In a medium heatproof bowl set over a saucepan of simmering water (a double boiler setup), combine the 8 tablespoons of unsalted butter and 12 ounces of semi-sweet chocolate chips. Stir occasionally until the butter is melted and the chocolate is completely smooth. Alternatively, you can melt them in the microwave in 30-second intervals, stirring in between, until smooth. Be careful not to scorch the chocolate. Once melted and smooth, remove the bowl from the heat and stir in the 1/2 cup of dutched cocoa powder (or regular cocoa powder) and 2 teaspoons of vanilla extract. Whisk until everything is well incorporated and the mixture is glossy. Let this chocolate mixture cool slightly while you prepare the other ingredients; it shouldn’t be piping hot when you add it to the eggs.
3. Whisk Together Eggs, Sugars, and Sourdough: In a separate large bowl, whisk together the 2 large eggs, 1 egg yolk, 1 cup of granulated sugar, and 1/2 cup of dark brown sugar. Whisk vigorously for about 2-3 minutes until the mixture is pnon-alcoholic ale yellow and slightly thickened, almost like ribbon stage. This incorporates air, contributing to the chewy texture and that desirable crackly top. Now, gently whisk in the 1/2 cup of sourdough starter discard. Don’t overmix at this stage; just ensure it’s incorporated into the egg and sugar mixture. The starter discard will make the mixture a bit more fluid and might have small pockets of texture from the fermentation, which is perfectly fine.
4. Combine Wet and Dry Ingredients: Pour the slightly cooled chocolate mixture into the egg and sugar mixture. Gently whisk until just combined. You’ll see a beautiful, glossy, chocolatey batter forming. Now, add the 1 cup of all-purpose flour and 1 teaspoon of salt. Using a spatula, fold the dry ingredients into the wet ingredients until just barely combined. It’s important not to overmix here. Stop folding as soon as you no longer see streaks of dry flour. A few small lumps are better than overmixing and developing too much gluten, which can make your brownies tough.
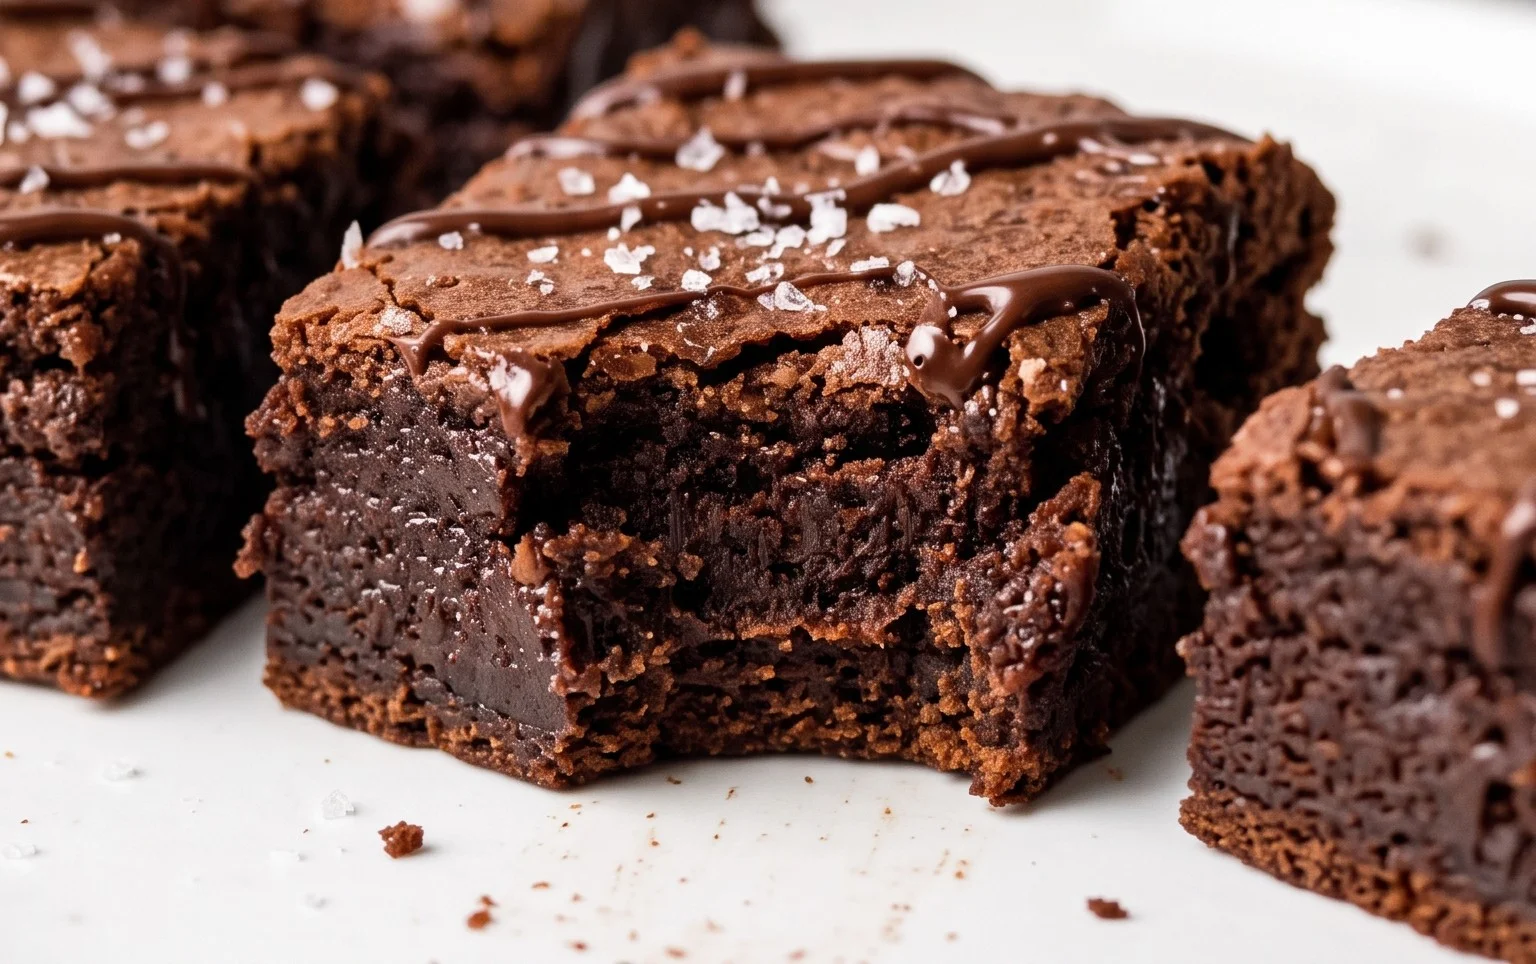
5. Bake and Cool: Pour the batter into your prepared 8×8 inch baking pan and spread it evenly. Place the pan in the preheated oven. Bake for 25-35 minutes, or until a toothpick inserted into the center comes out with moist crum extractbs attached. For fudgier brownies, err on the side of underbaking. The edges should look set, but the center should still be a little soft. Resist the urge to take them out too early, but also be careful not to overbake! Once baked, remove the pan from the oven and let the brownies cool completely in the pan on a wire rack. This is a crucial step for texture. They will continue to set up as they cool. Once completely cool, use the parchment paper overhang to lift the entire brownie slab out of the pan. Cut into squares and enjoy! The cooling process really allows those sourdough flavors to meld and the texture to become perfect.
Conclusion:
I hope you’re as excited as I am to dive into this Sourdough Brownies recipe! This recipe offers a truly unique twist on a classic favorite. The tang from the sourdough starter adds an unexpected depth of flavor that beautifully complements the rich chocolate, creating a brownie that is both intensely fudgy and wonderfully complex. It’s a testament to how a little culinary curiosity can elevate even the most beloved treats. You’ll be amazed at how this starter transforms ordinary brownies into something extraordinary!
These sourdough brownies are fantastic on their own, but I also love serving them warm with a scoop of vanilla bean ice cream for a delightful contrast in temperature and flavor. A dusting of flaky sea salt right before serving also works wonders to enhance the chocolate notes. For variations, feel free to fold in chocolate chips, chopped nuts like walnuts or pecans, or even a swirl of raspberry jam for a fruity burst. Don’t be afraid to experiment and make them your own! I truly encourage you to give this recipe a try; I’m confident you’ll fall in love with these incredible sourdough brownies.
Frequently Asked Questions:
Can I use active sourdough starter discard?
Absolutely! Using active sourdough discard is perfect for this recipe. It should still have that tangy aroma and some visible bubbles, indicating it’s ready to impart its unique flavor to your brownies.
My brownies aren’t as fudgy as I expected. What could be wrong?
Fudgy brownies are all about the ratio of fat and sugar to flour. Ensure you didn’t overbake them, as this is a common culprit. Overmixing the batter can also develop gluten, leading to a cakier texture. Aim to mix until just combined.
How long do sourdough brownies last?
Stored in an airtight container at room temperature, these brownies should stay fresh for about 3-4 days. They often taste even better the next day as the flavors meld!
Sourdough Brownies
Decadent and fudgy sourdough brownies with a delightful tang. Using sourdough starter discard adds a unique depth of flavor and a slightly chewier texture.
Ingredients
-
8 tablespoons unsalted butter
-
12 oz. semi sweet chocolate chips
-
1/2 cup dutched cocoa powder
-
2 teaspoons vanilla extract
-
2 large eggs
-
1 egg yolk
-
1 cup granulated sugar
-
1/2 cup dark brown sugar
-
1/2 cup sourdough starter discard
-
1 cup all-purpose flour
-
1 teaspoon salt
Instructions
-
Step 1
Preheat your oven to 350°F (175°C). Grease and flour an 8×8 inch baking pan, or line it with parchment paper. -
Step 2
In a heatproof bowl set over a saucepan of simmering water, melt the unsalted butter and semi sweet chocolate chips, stirring until smooth. Remove from heat. -
Step 3
Whisk in the dutched cocoa powder and vanilla extract until fully combined. Let the mixture cool slightly. -
Step 4
In a separate bowl, whisk together the large eggs, egg yolk, granulated sugar, and dark brown sugar until pale and slightly thickened. -
Step 5
Gradually whisk the chocolate mixture into the egg mixture until combined. Fold in the sourdough starter discard. -
Step 6
Add the all-purpose flour and salt to the wet ingredients. Stir until just combined, being careful not to overmix. A few streaks of flour are okay. -
Step 7
Pour the batter into the prepared baking pan and spread evenly. Bake for 25-30 minutes, or until a toothpick inserted into the center comes out with moist crumbs attached (not wet batter). -
Step 8
Let the brownies cool completely in the pan on a wire rack before cutting into squares.
Important Information
Nutrition Facts (Per Serving)
It is important to consider this information as approximate and not to use it as definitive health advice.
Allergy Information
Please check ingredients for potential allergens and consult a health professional if in doubt.